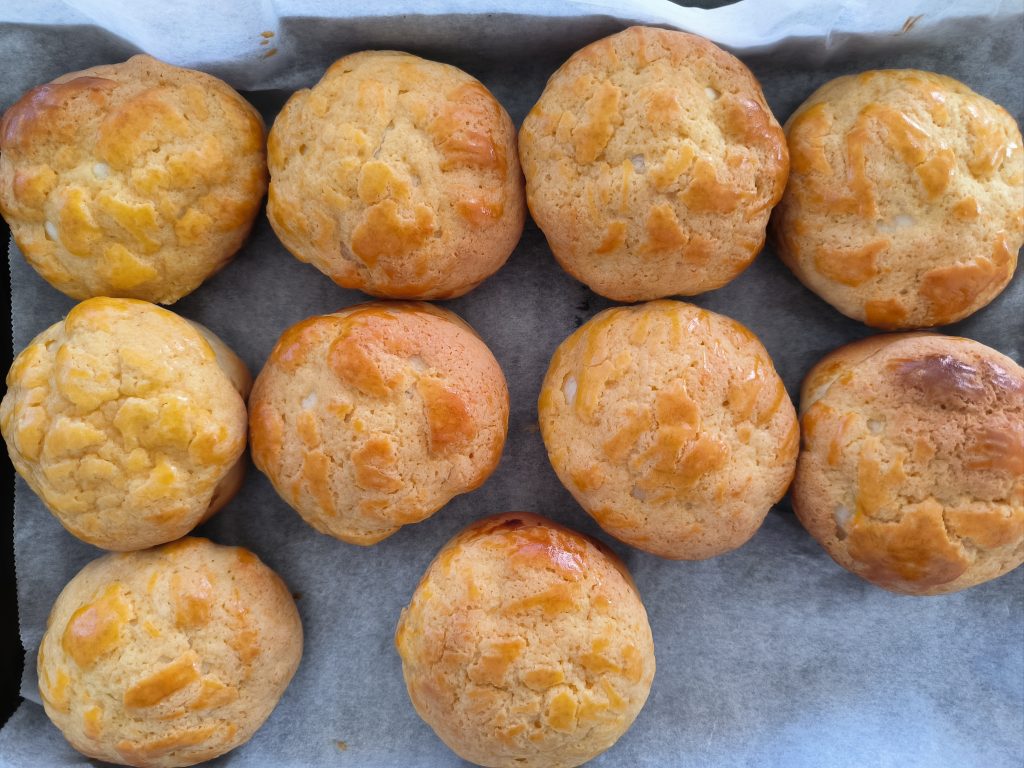
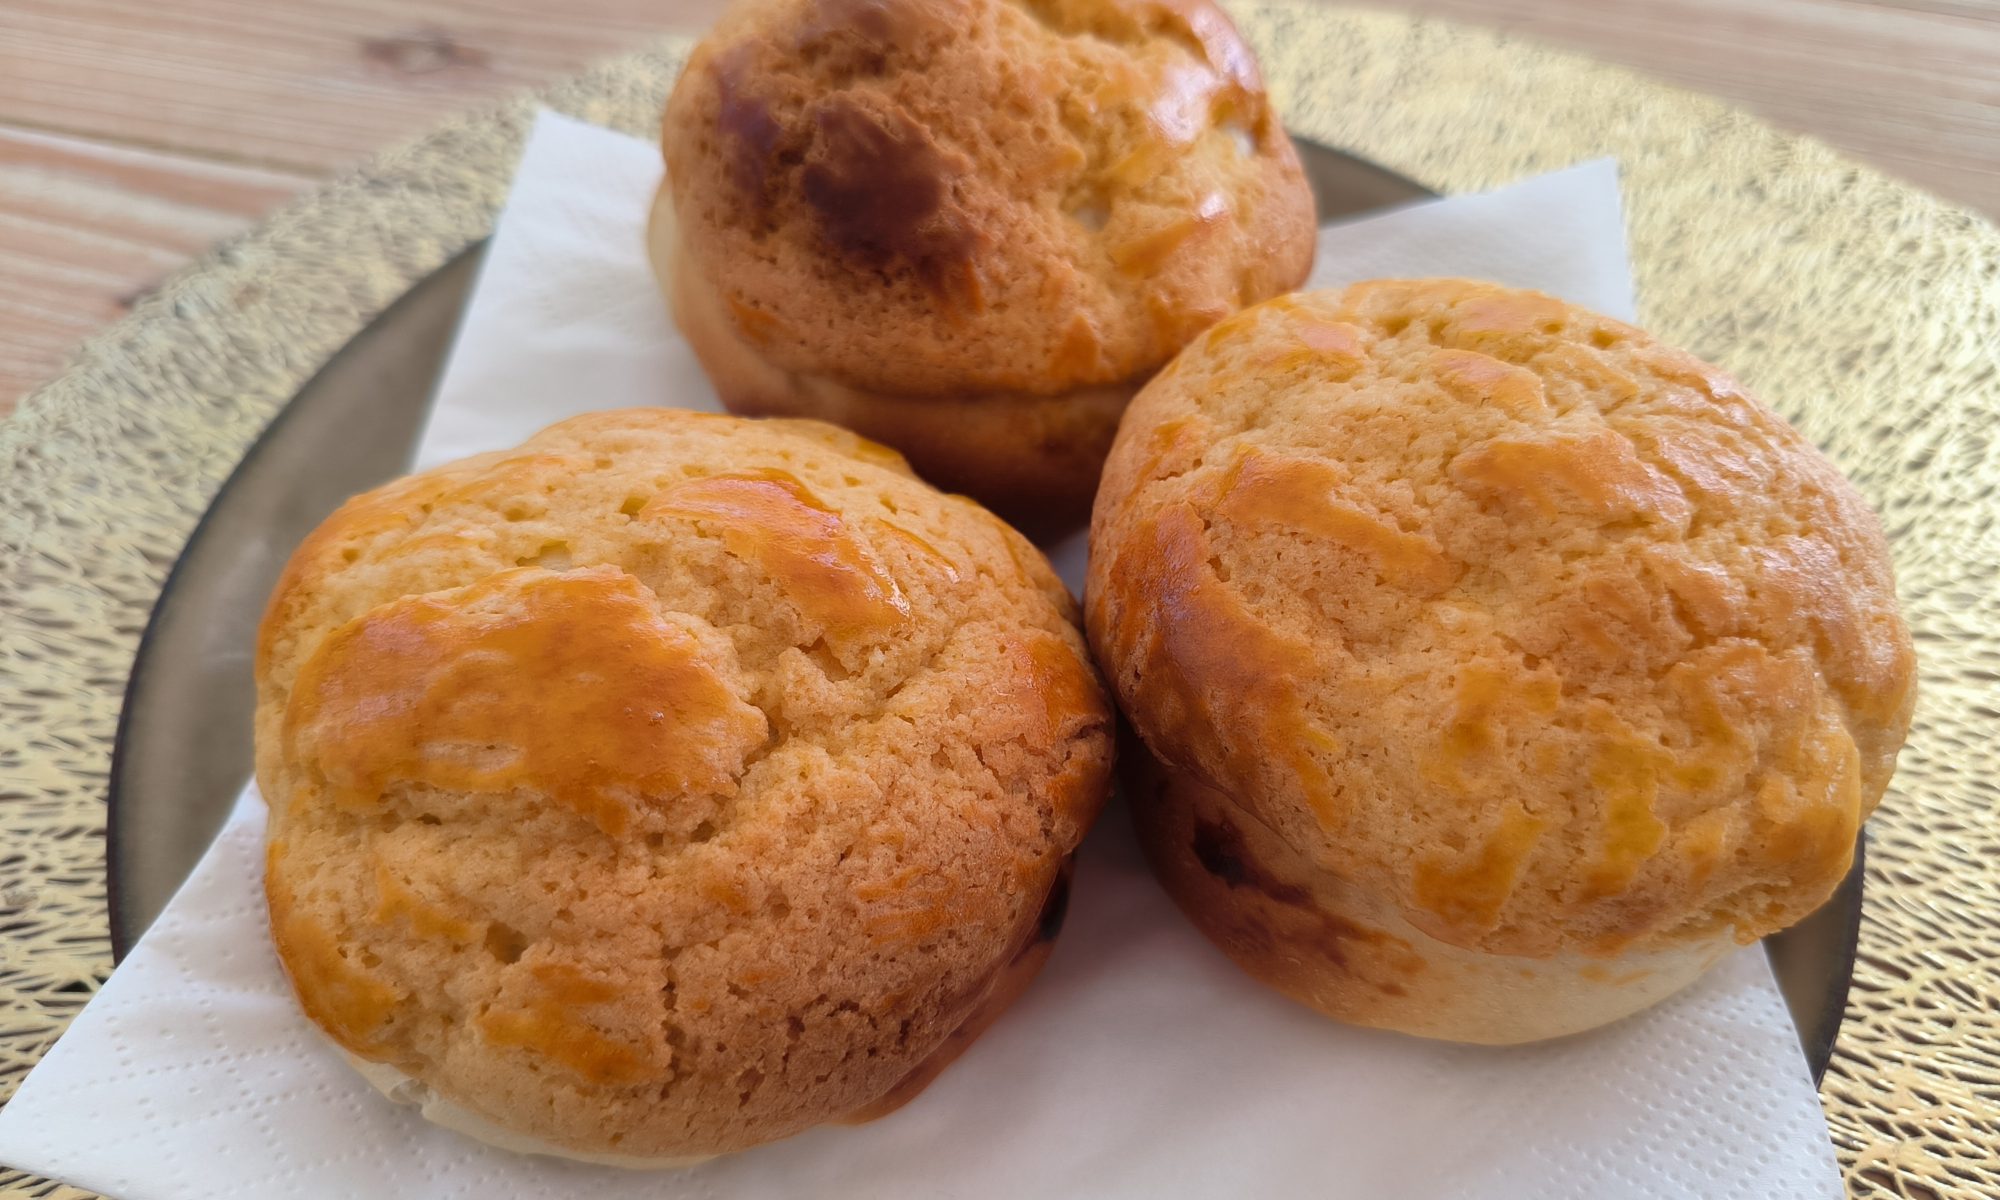
Hong Kong pineapple bun, also known in Cantonese as Bo Lo Bao is a very classic bread pastry. This bun is very popular and iconic in Hong Kong bakeries and is a perfect delight for a Fika time. Fika is a Swedish tradition for a coffee moment accompanied with cake or cookies that can serve upto seven kinds of cookies on a tray. However, Fika is not really relevant in my recipe but since my partner is Swedish, I’m using the terminology Fika all the time for every Coffee & Pastry moment 😊.
Bo Lo Bao is soft and lightly sweet and it’s topped with a golden-brown sweet crumbly crust. The softness of the bread is created by the Chinese Tangzhong (water roux) technique of heating flour and water into a gel paste that is then added to the bread dough. This will improve the texture of bread in making the dough softer and fluffier.
Despite the name, Bo Lo Bao does not contain any pineapple nor flavours. The name rather refers to the look of the characteristic topping crust which resembles the skin texture of a pineapple. It may sound unlogic if you can’t see the image resemblance….. me neither but just take that as historic food story.
Let me know how your Bol Lo Bao baking turned out and enjoy your Fika moment!
Baking time: ~3 hours, time includes about 2 hrs in rising the dough. Serving ~16 buns
Ingredients & Tools
- Kitchen scale
- Saucepan
- Whisk
- Small bowl for cooling down Tangzhong
- Plastic wrap
- Kitchen towel
- Big bowl for mixing the bread dough
- Big bowl for mixing the topping
- Small bowl for egg wash
- Mixer for dough and topping
- Baking paper
- Baking brush
Tangzhong roux
- 25gr patent flour
- 125gr water
Dough
- 360gr patent flour
- 70gr sugar
- ½ tsp salt
- 25gr fresh yeast or 7gr instant yeast – I used fresh yeast
- 120gr milk on room temperature
- 1 large egg on room temperature
- Tangzhong roux
- 30gr softened unsalted butter
Topping
- 125gr patent flour
- 90gr sugar powder
- 50gr softened unsalted butter
- 15gr custard powder
- 1 egg yolk on room temperature
- 1 Tbsp milk
- ¼ tsp baking soda
- ¼ tsp baking powder
Egg wash
- 1 egg yolk to brush the topping for a golden-brown crust topping
What to do?
- ————- Prepare Tangzhong ————-
- Add 25gr patent flour in saucepan and slowly add 125gr water while stirring.
- Heat over medium-high and constantly keep stirring until mixture turns into a thick gel paste
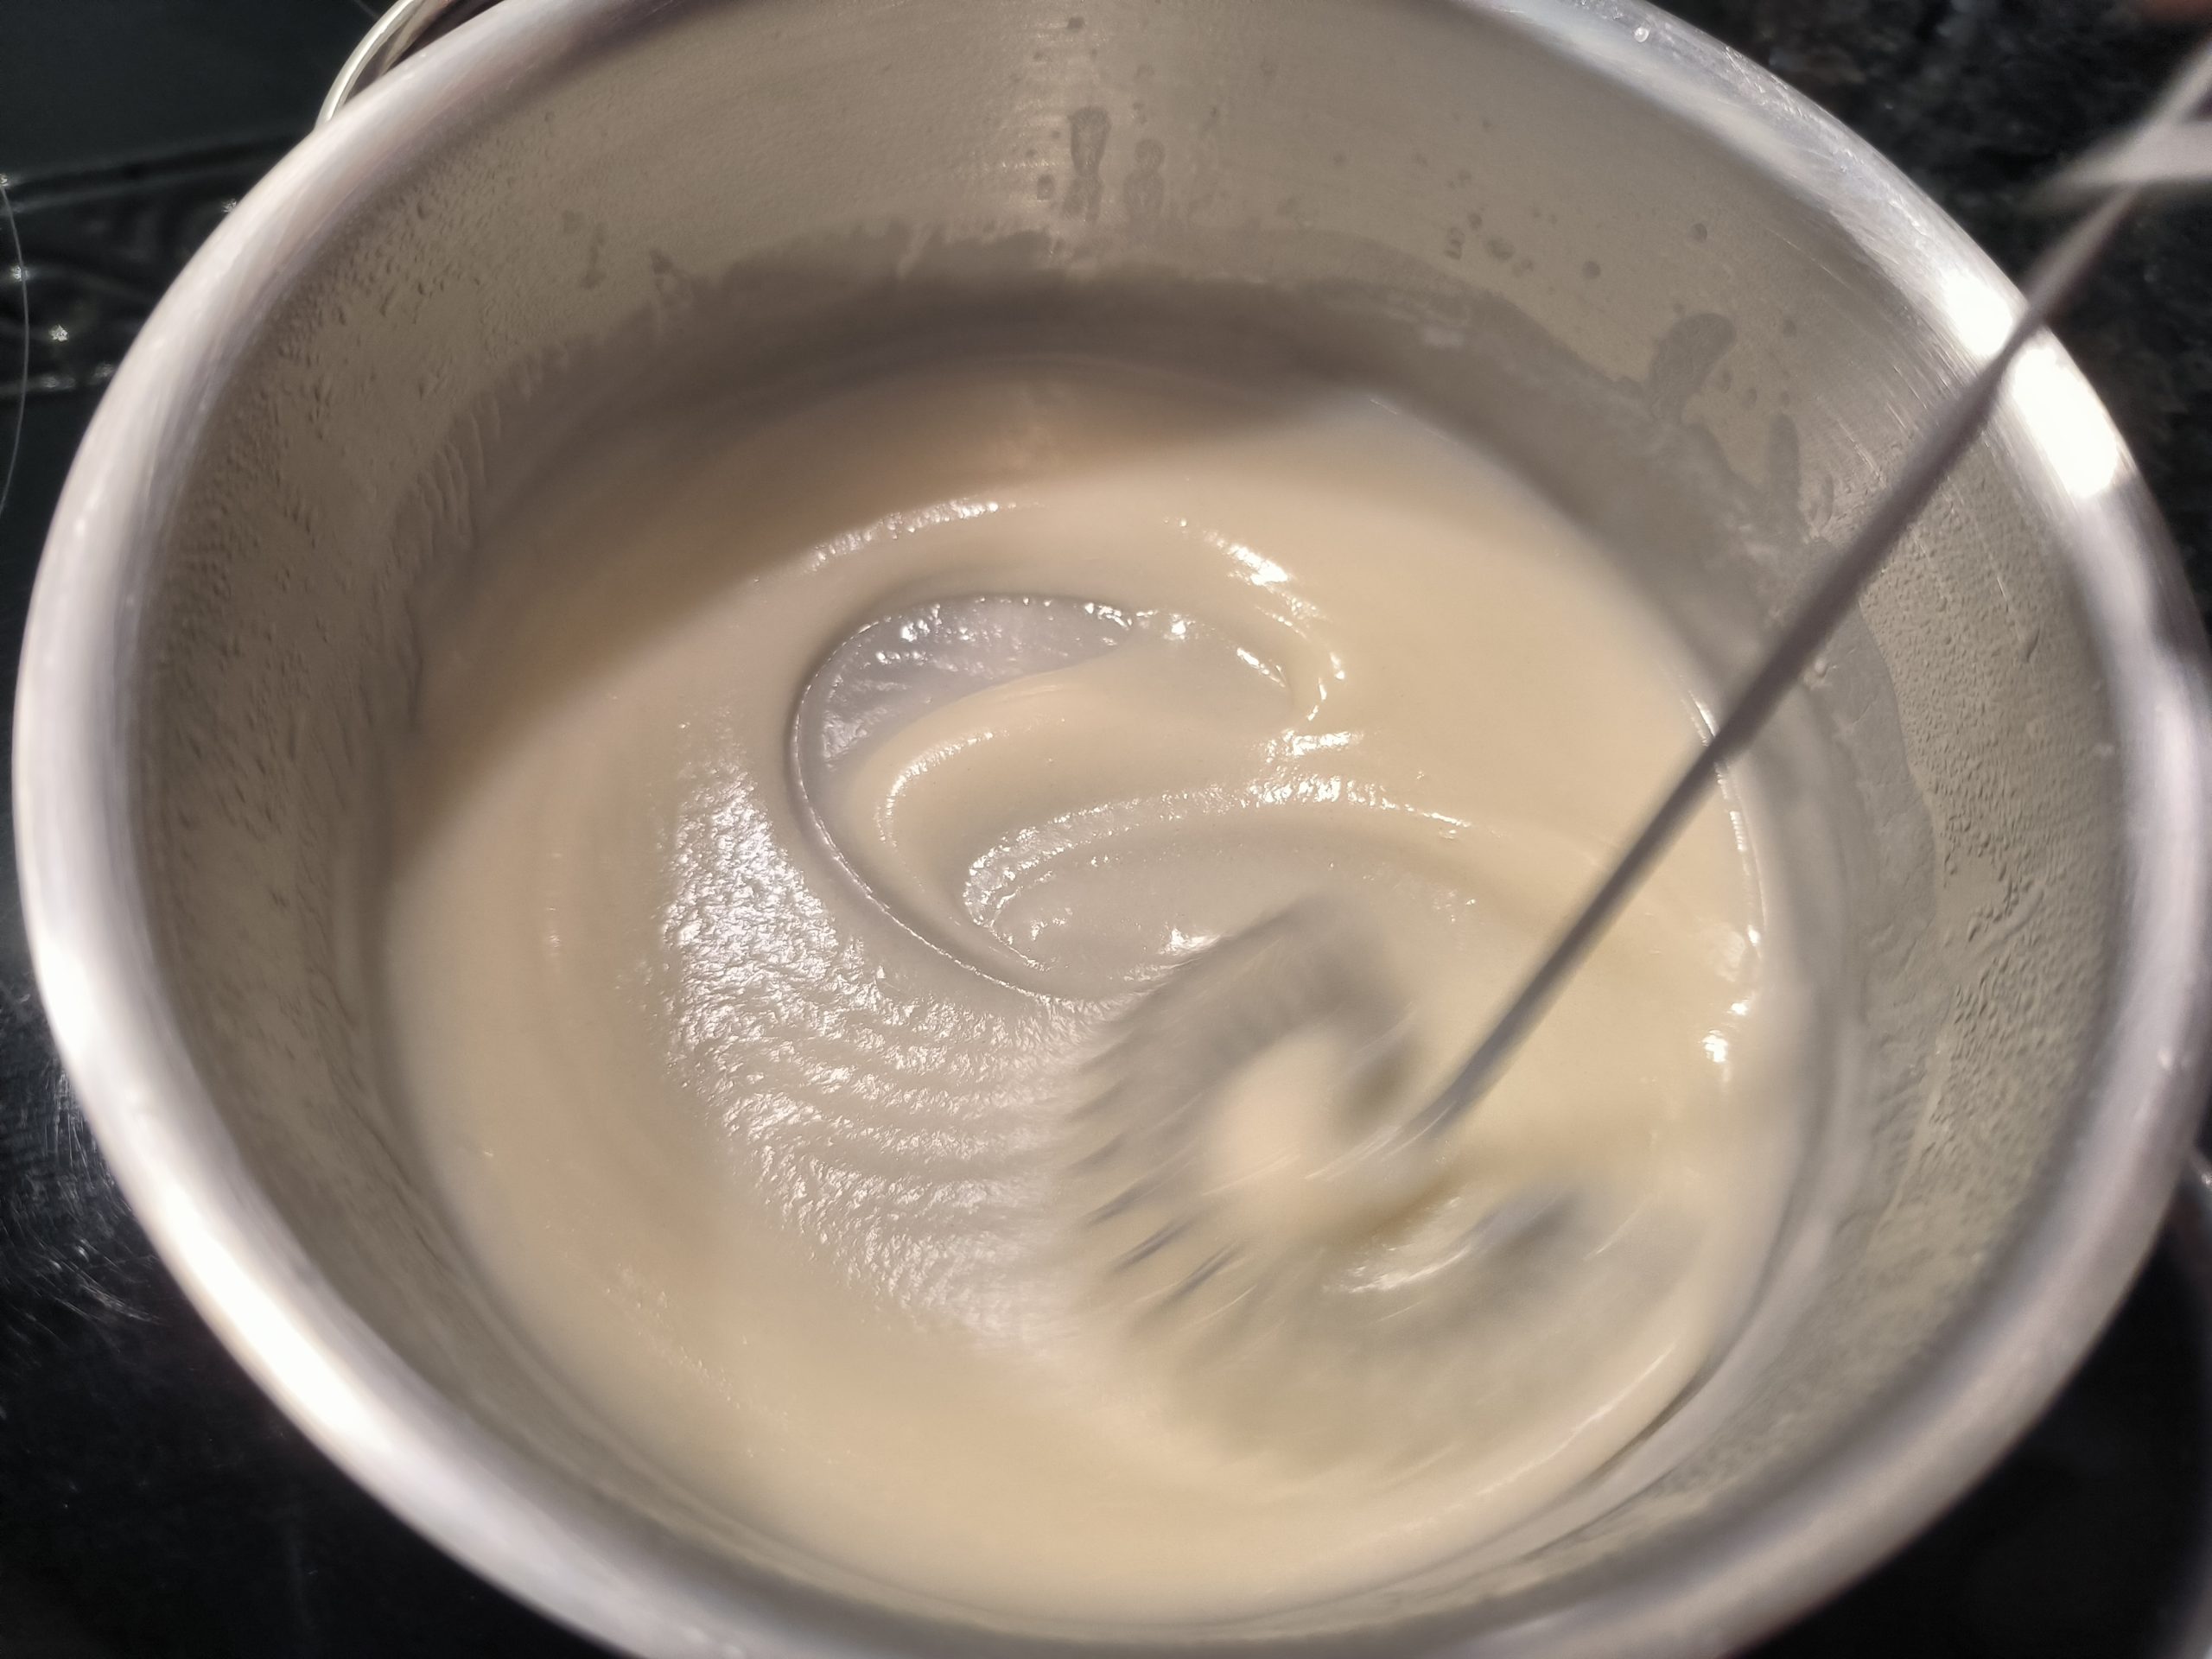
- Transfer the gel paste into a small bowl and cover it with plastic wrap. This is to prevent the paste getting dry.
- Let the Tangzhong cool down to room temperature.
- ————- Prepare Bread Dough ————-
- In a big bowl, put 350gr patent flour + 70gr sugar + ½ tsp salt.
- Dissolve the fresh yeast block by crumbling in the saucepan with 120gr milk and stir on low temperature until lukewarm. If you use instant yeast, you can just pour it into the big bowl mixture.
- Then, add the egg and Tangzhou into the big bowl
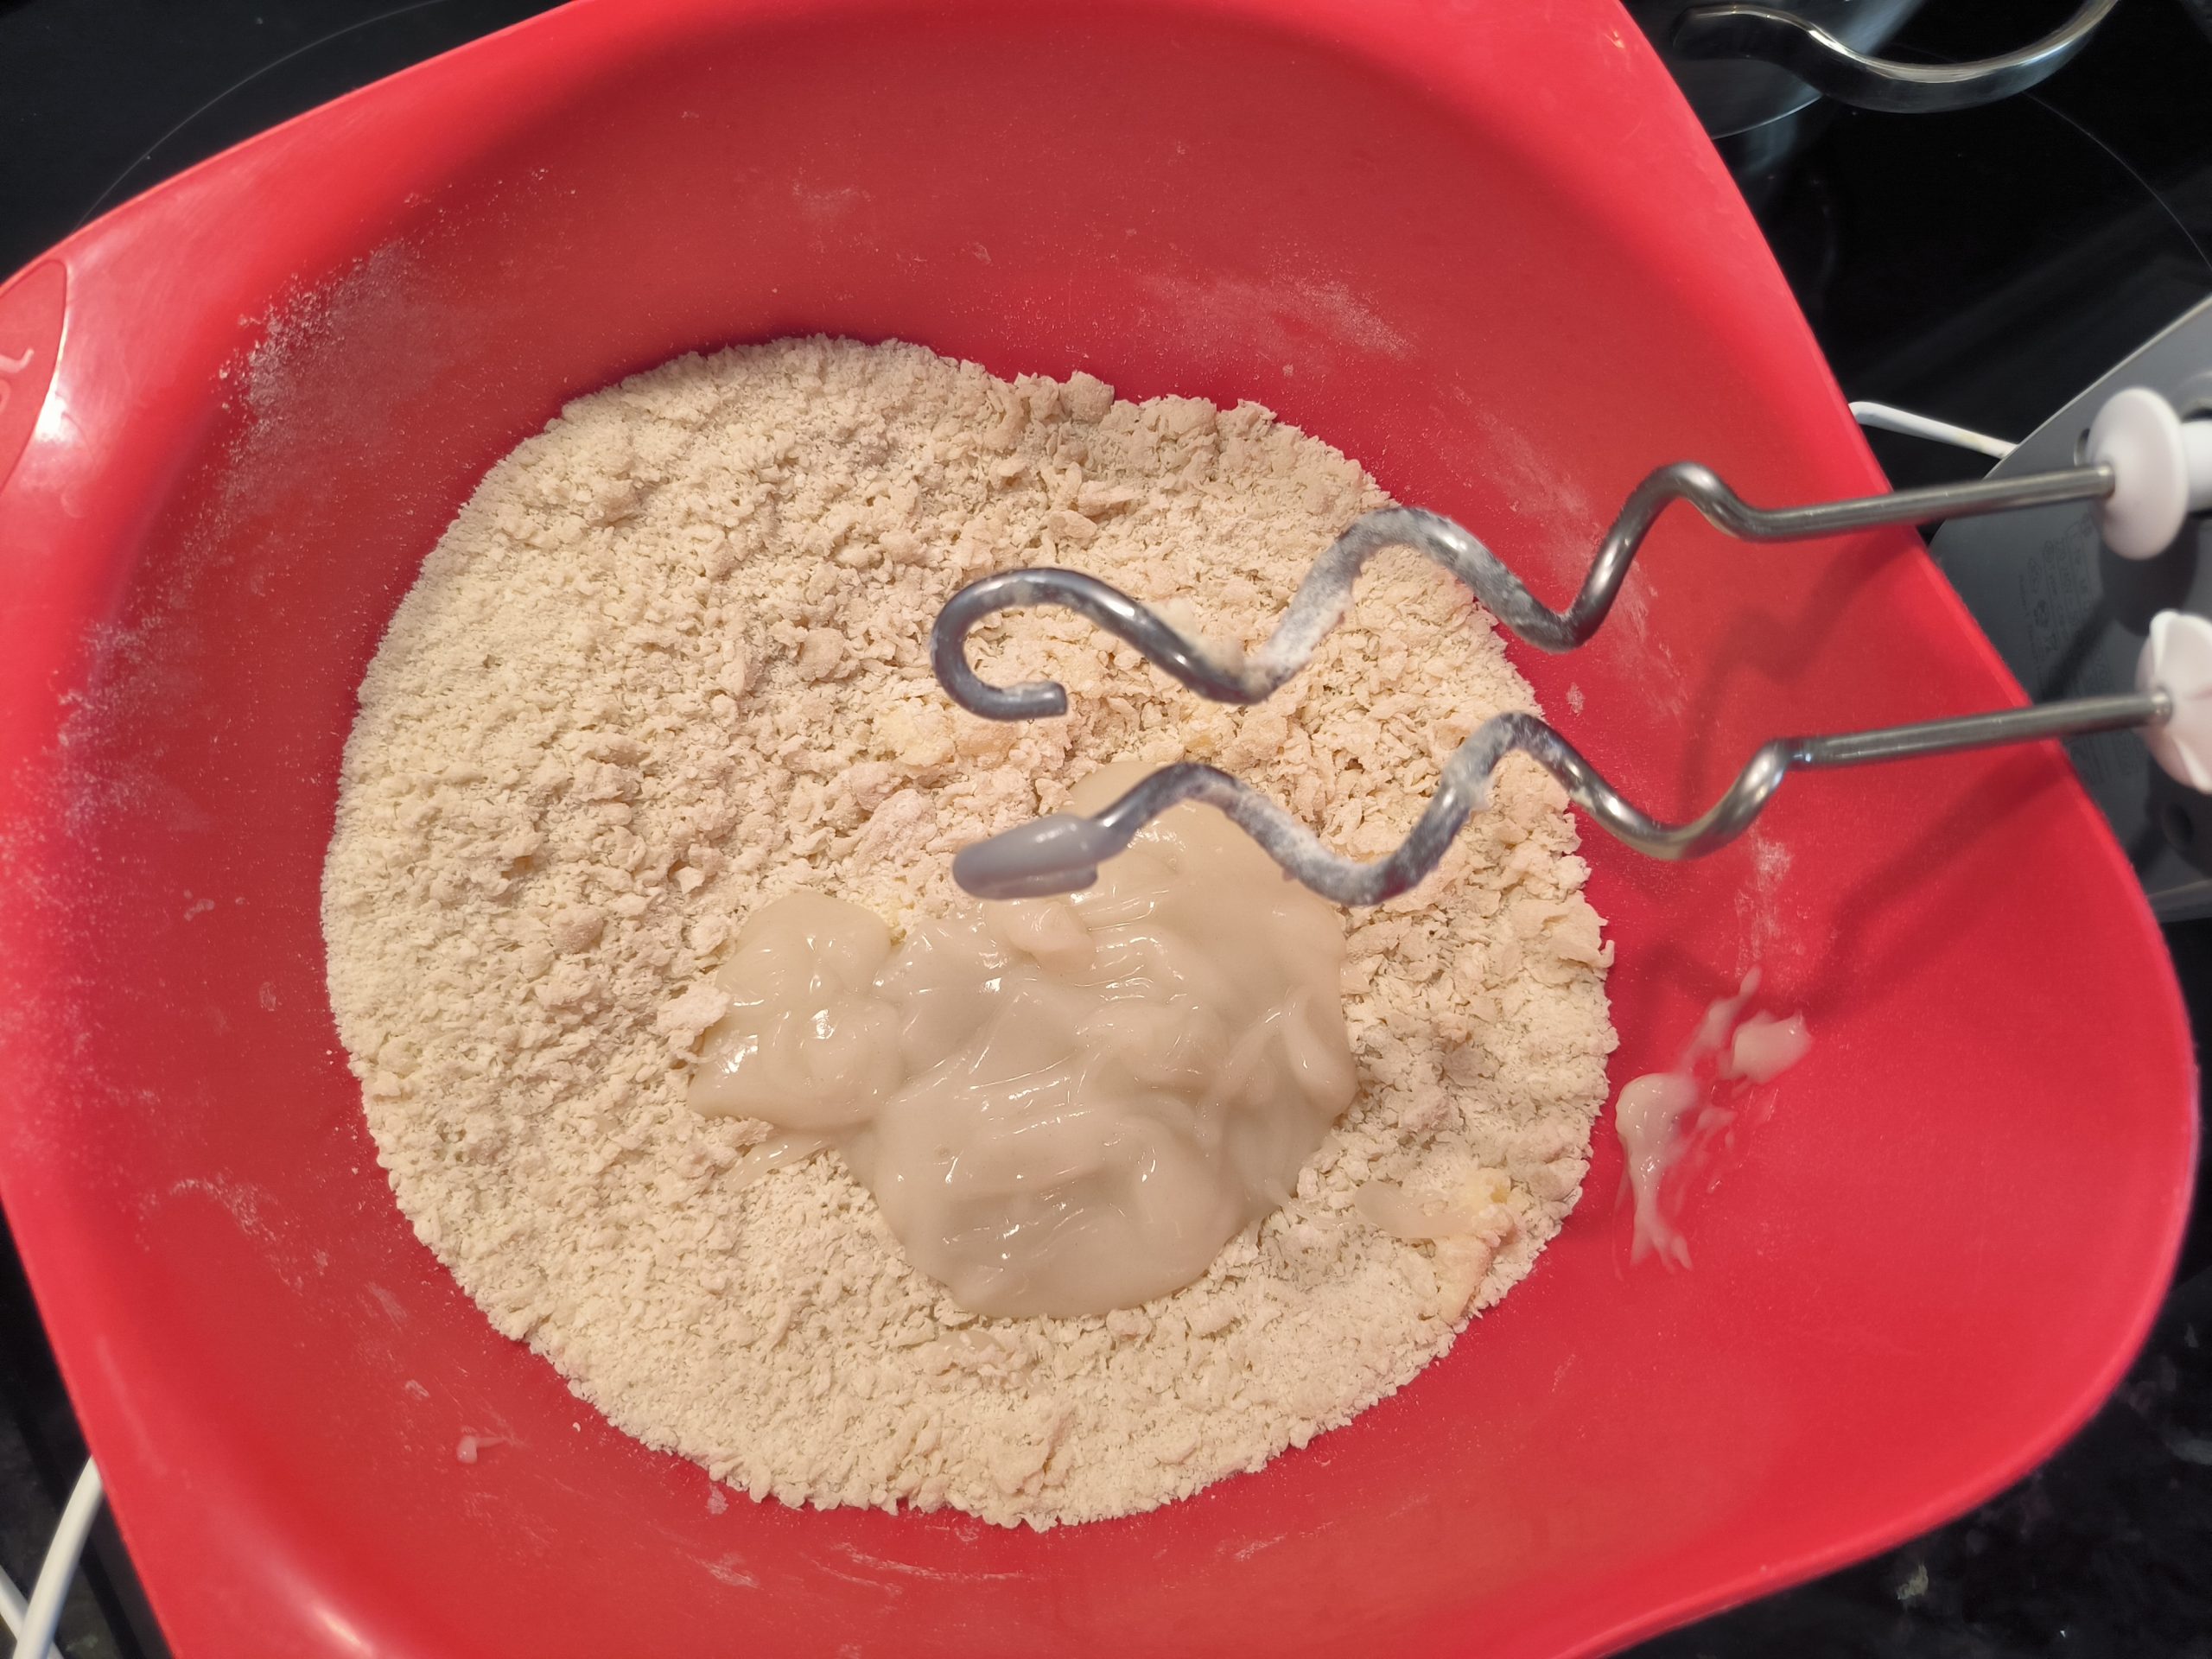
- Mix the mixture on low speed for ~5min until everything is combined.
- Add 30gr butter into the mixture and mix on medium speed for ~5min until a soft dough forms. If the dough is too sticky, then add a bit more flour at a time.
- Finish the dough off by kneading the dough by hand, then shape it into a smooth big ball.
- Re-use the big bowl or take a clean one. Sprinkle some flour in the bowl and place the dough ball in and cover the bowl with a kitchen towel. Let the dough rest and rise on a warm spot, in a sunny or room temperature spot for 1 hour.
- ————- Prepare Bun Topping ————-
- In another big bowl, put 50gr butter and mix it until the butter turns into a creamy consistency
-
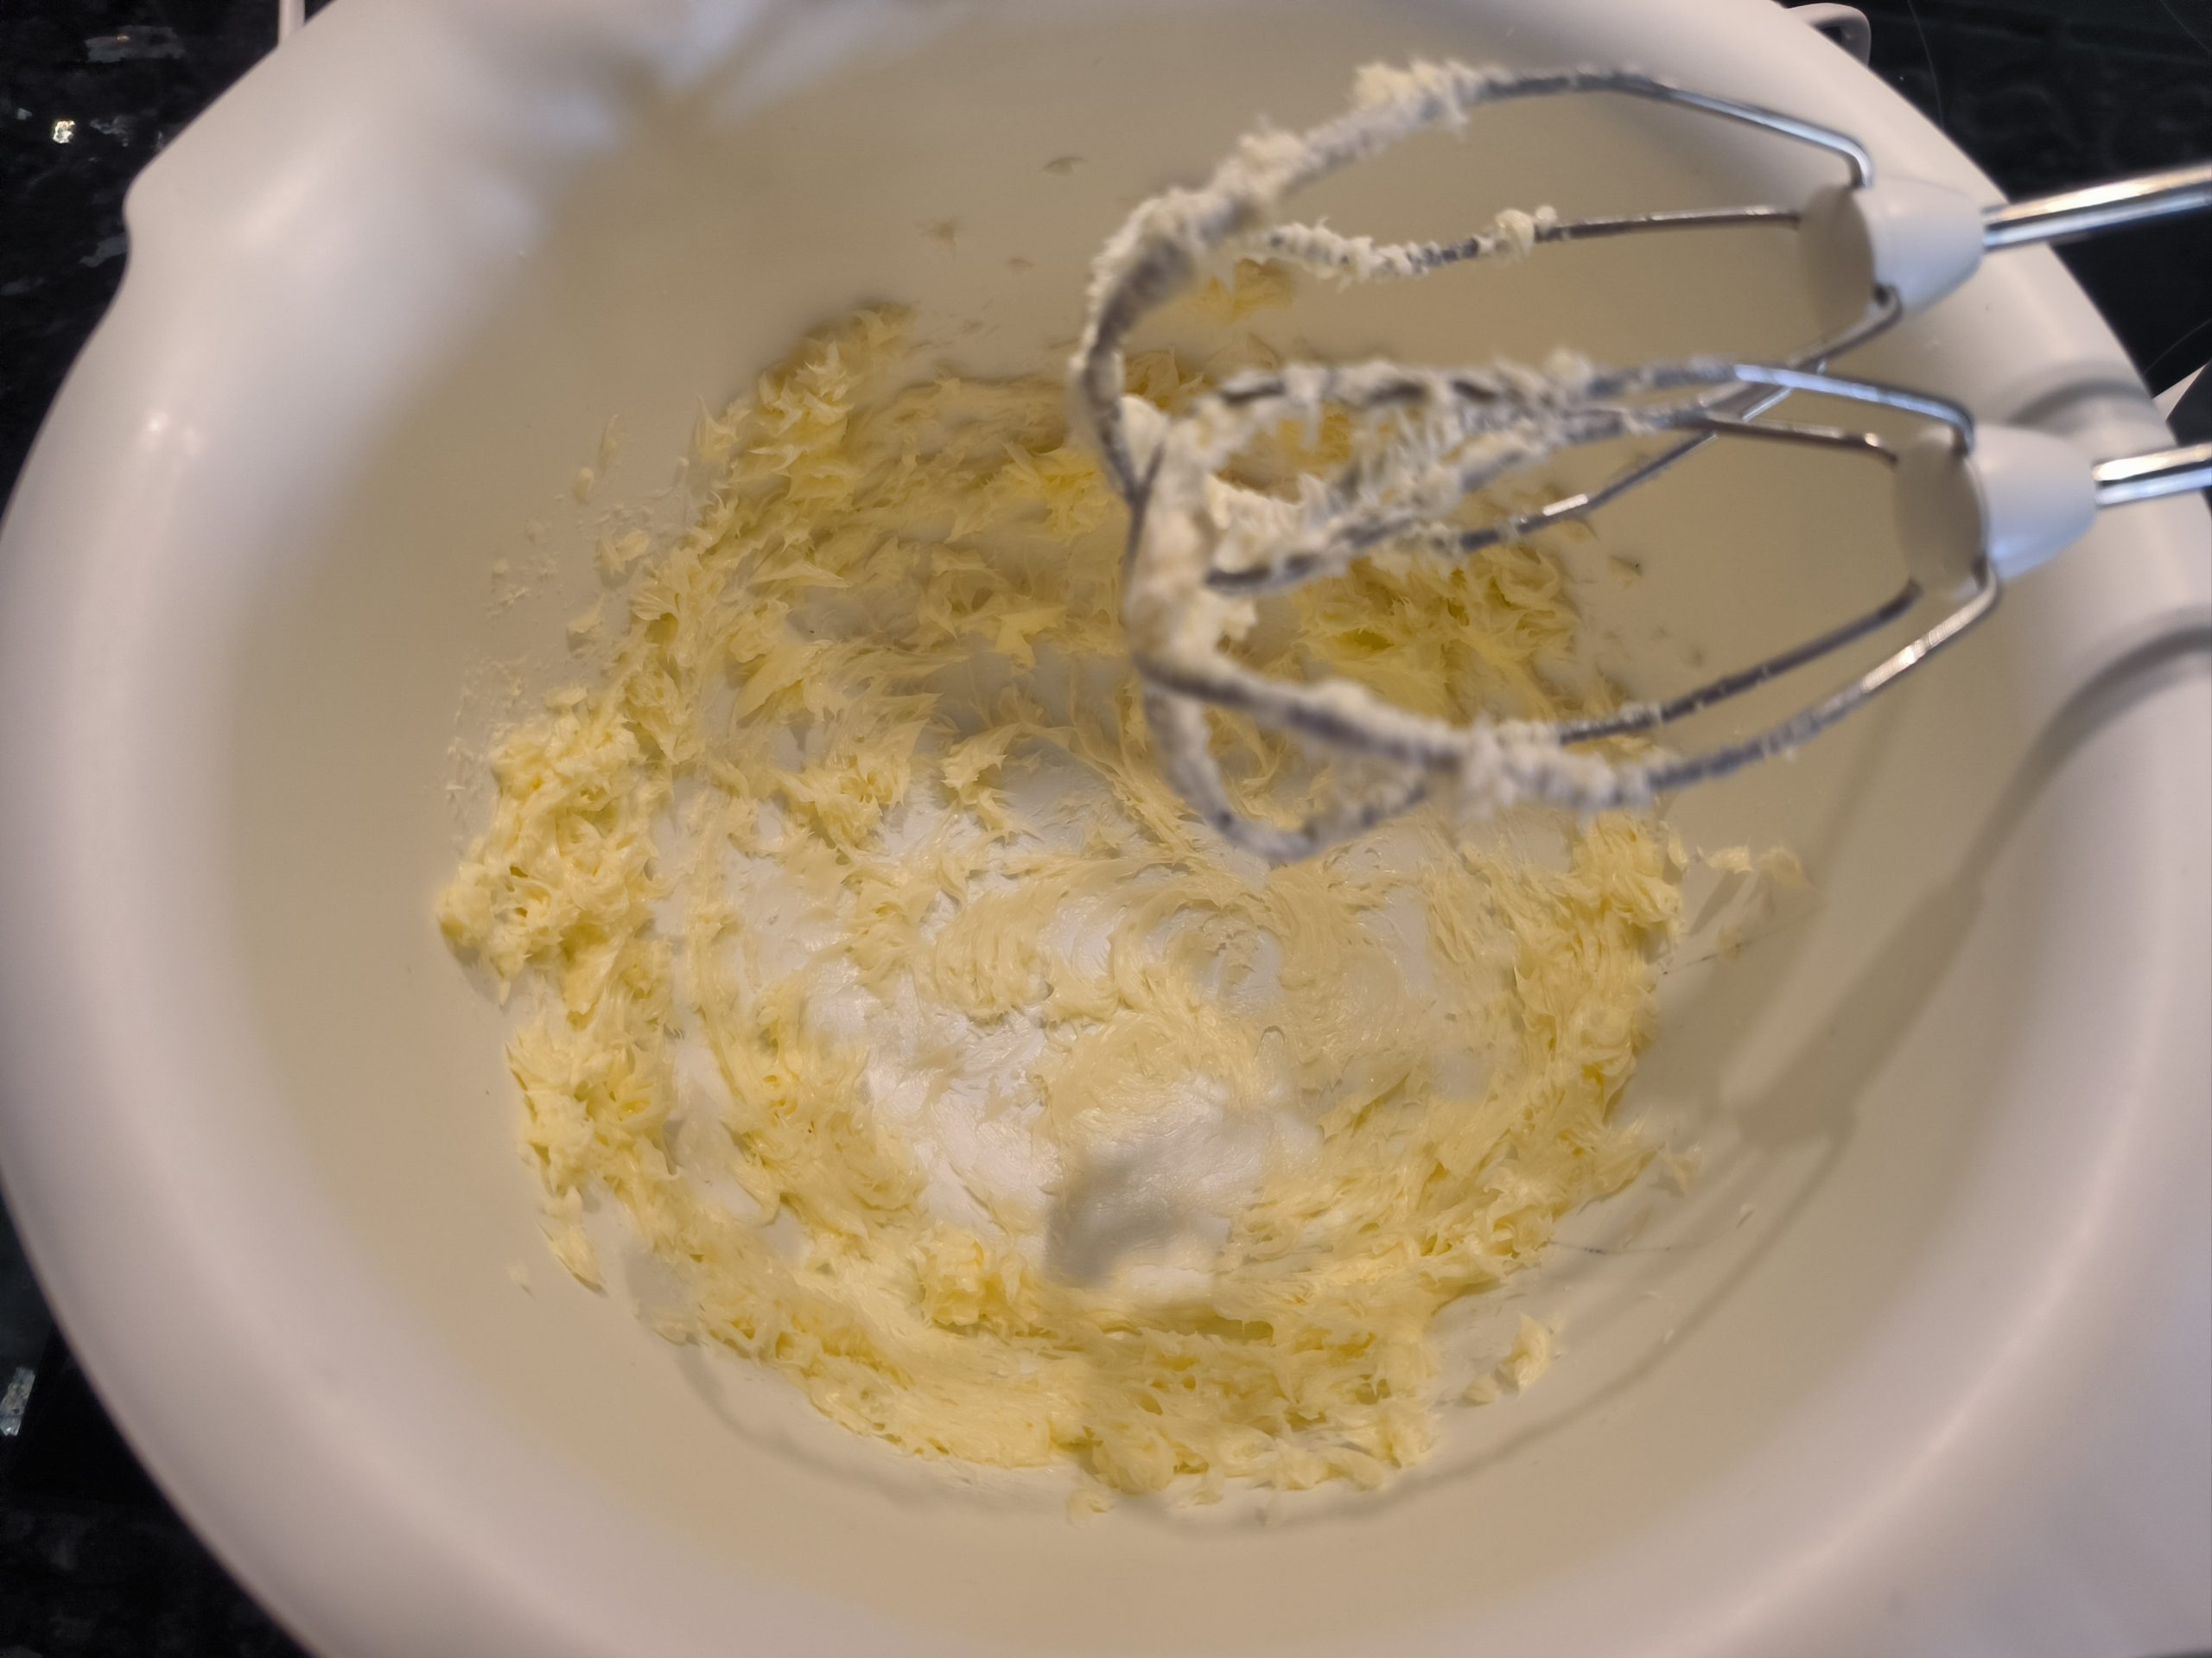
- Then, add 90gr sugar powder and mix until it turns into a creamy consistency.
- Then, add 1 egg yolk + 15gr custard powder + 1 Tbsp milk and mix all together.
- Then add ¼ tsp baking powder + ¼ tsp baking soda + 125gr patent flour and mix until it turns into a thick paste
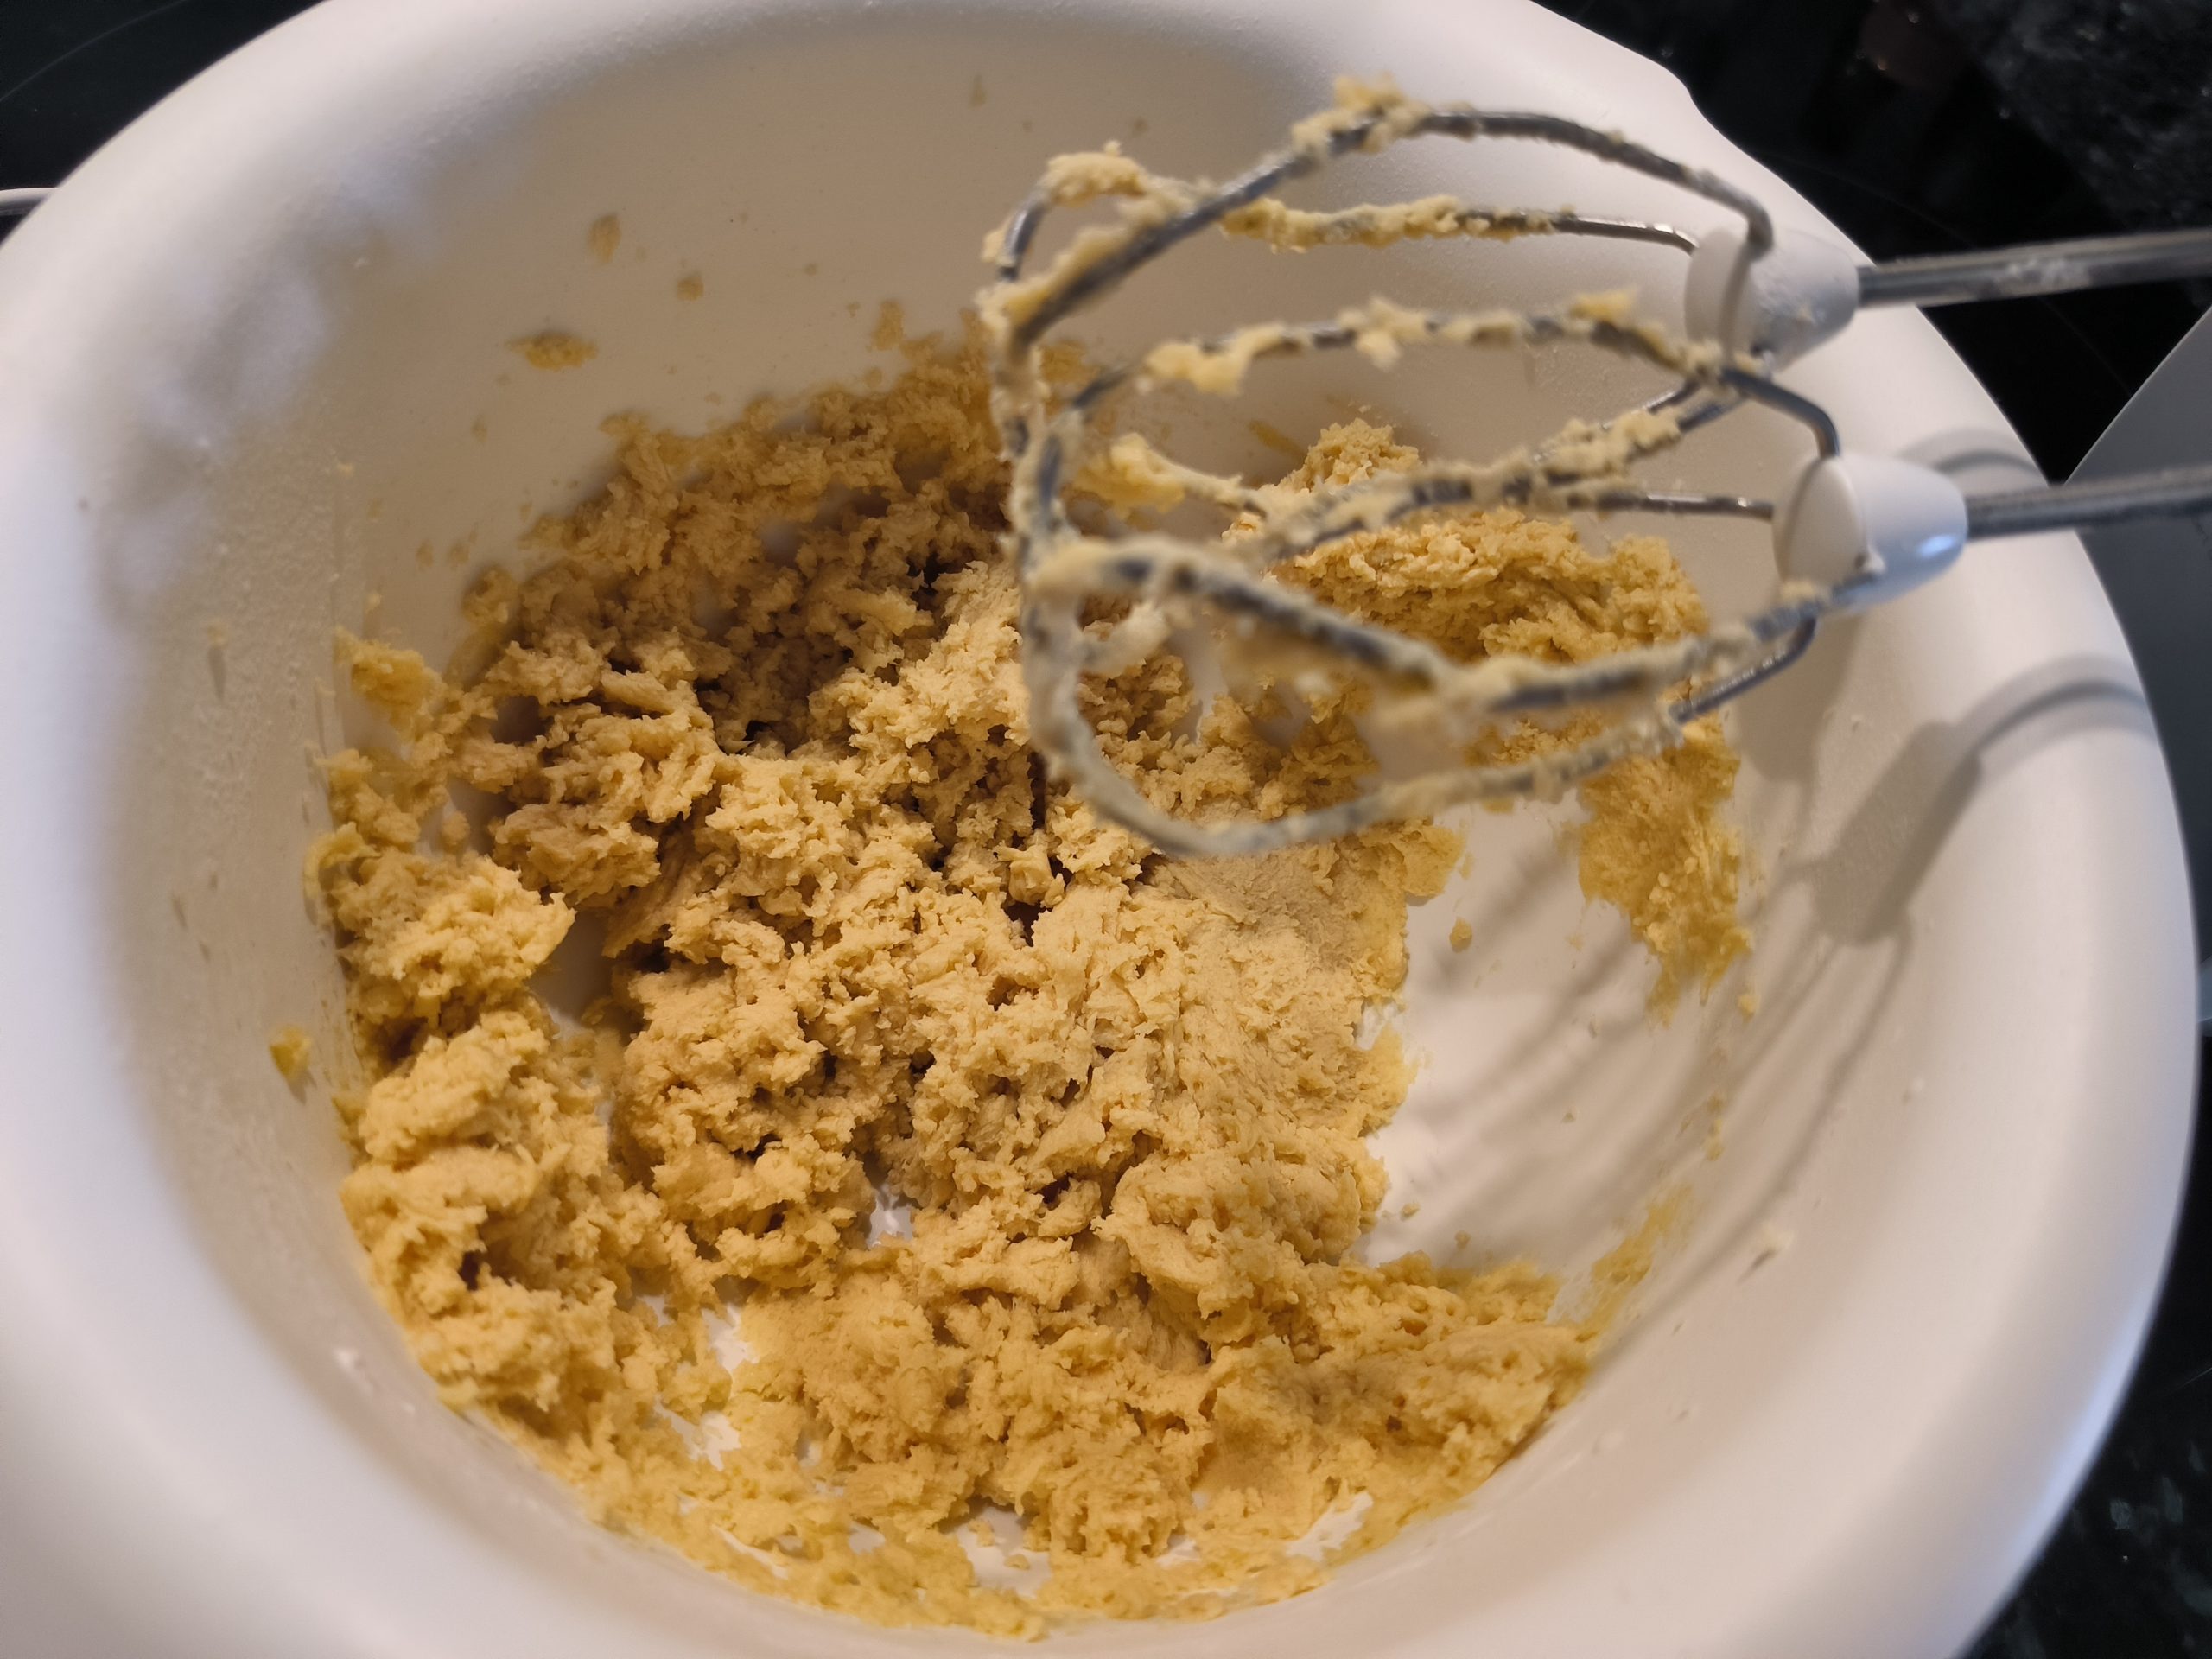
- Put the paste in a plastic wrap and shape it into a small log, like a sausage
-
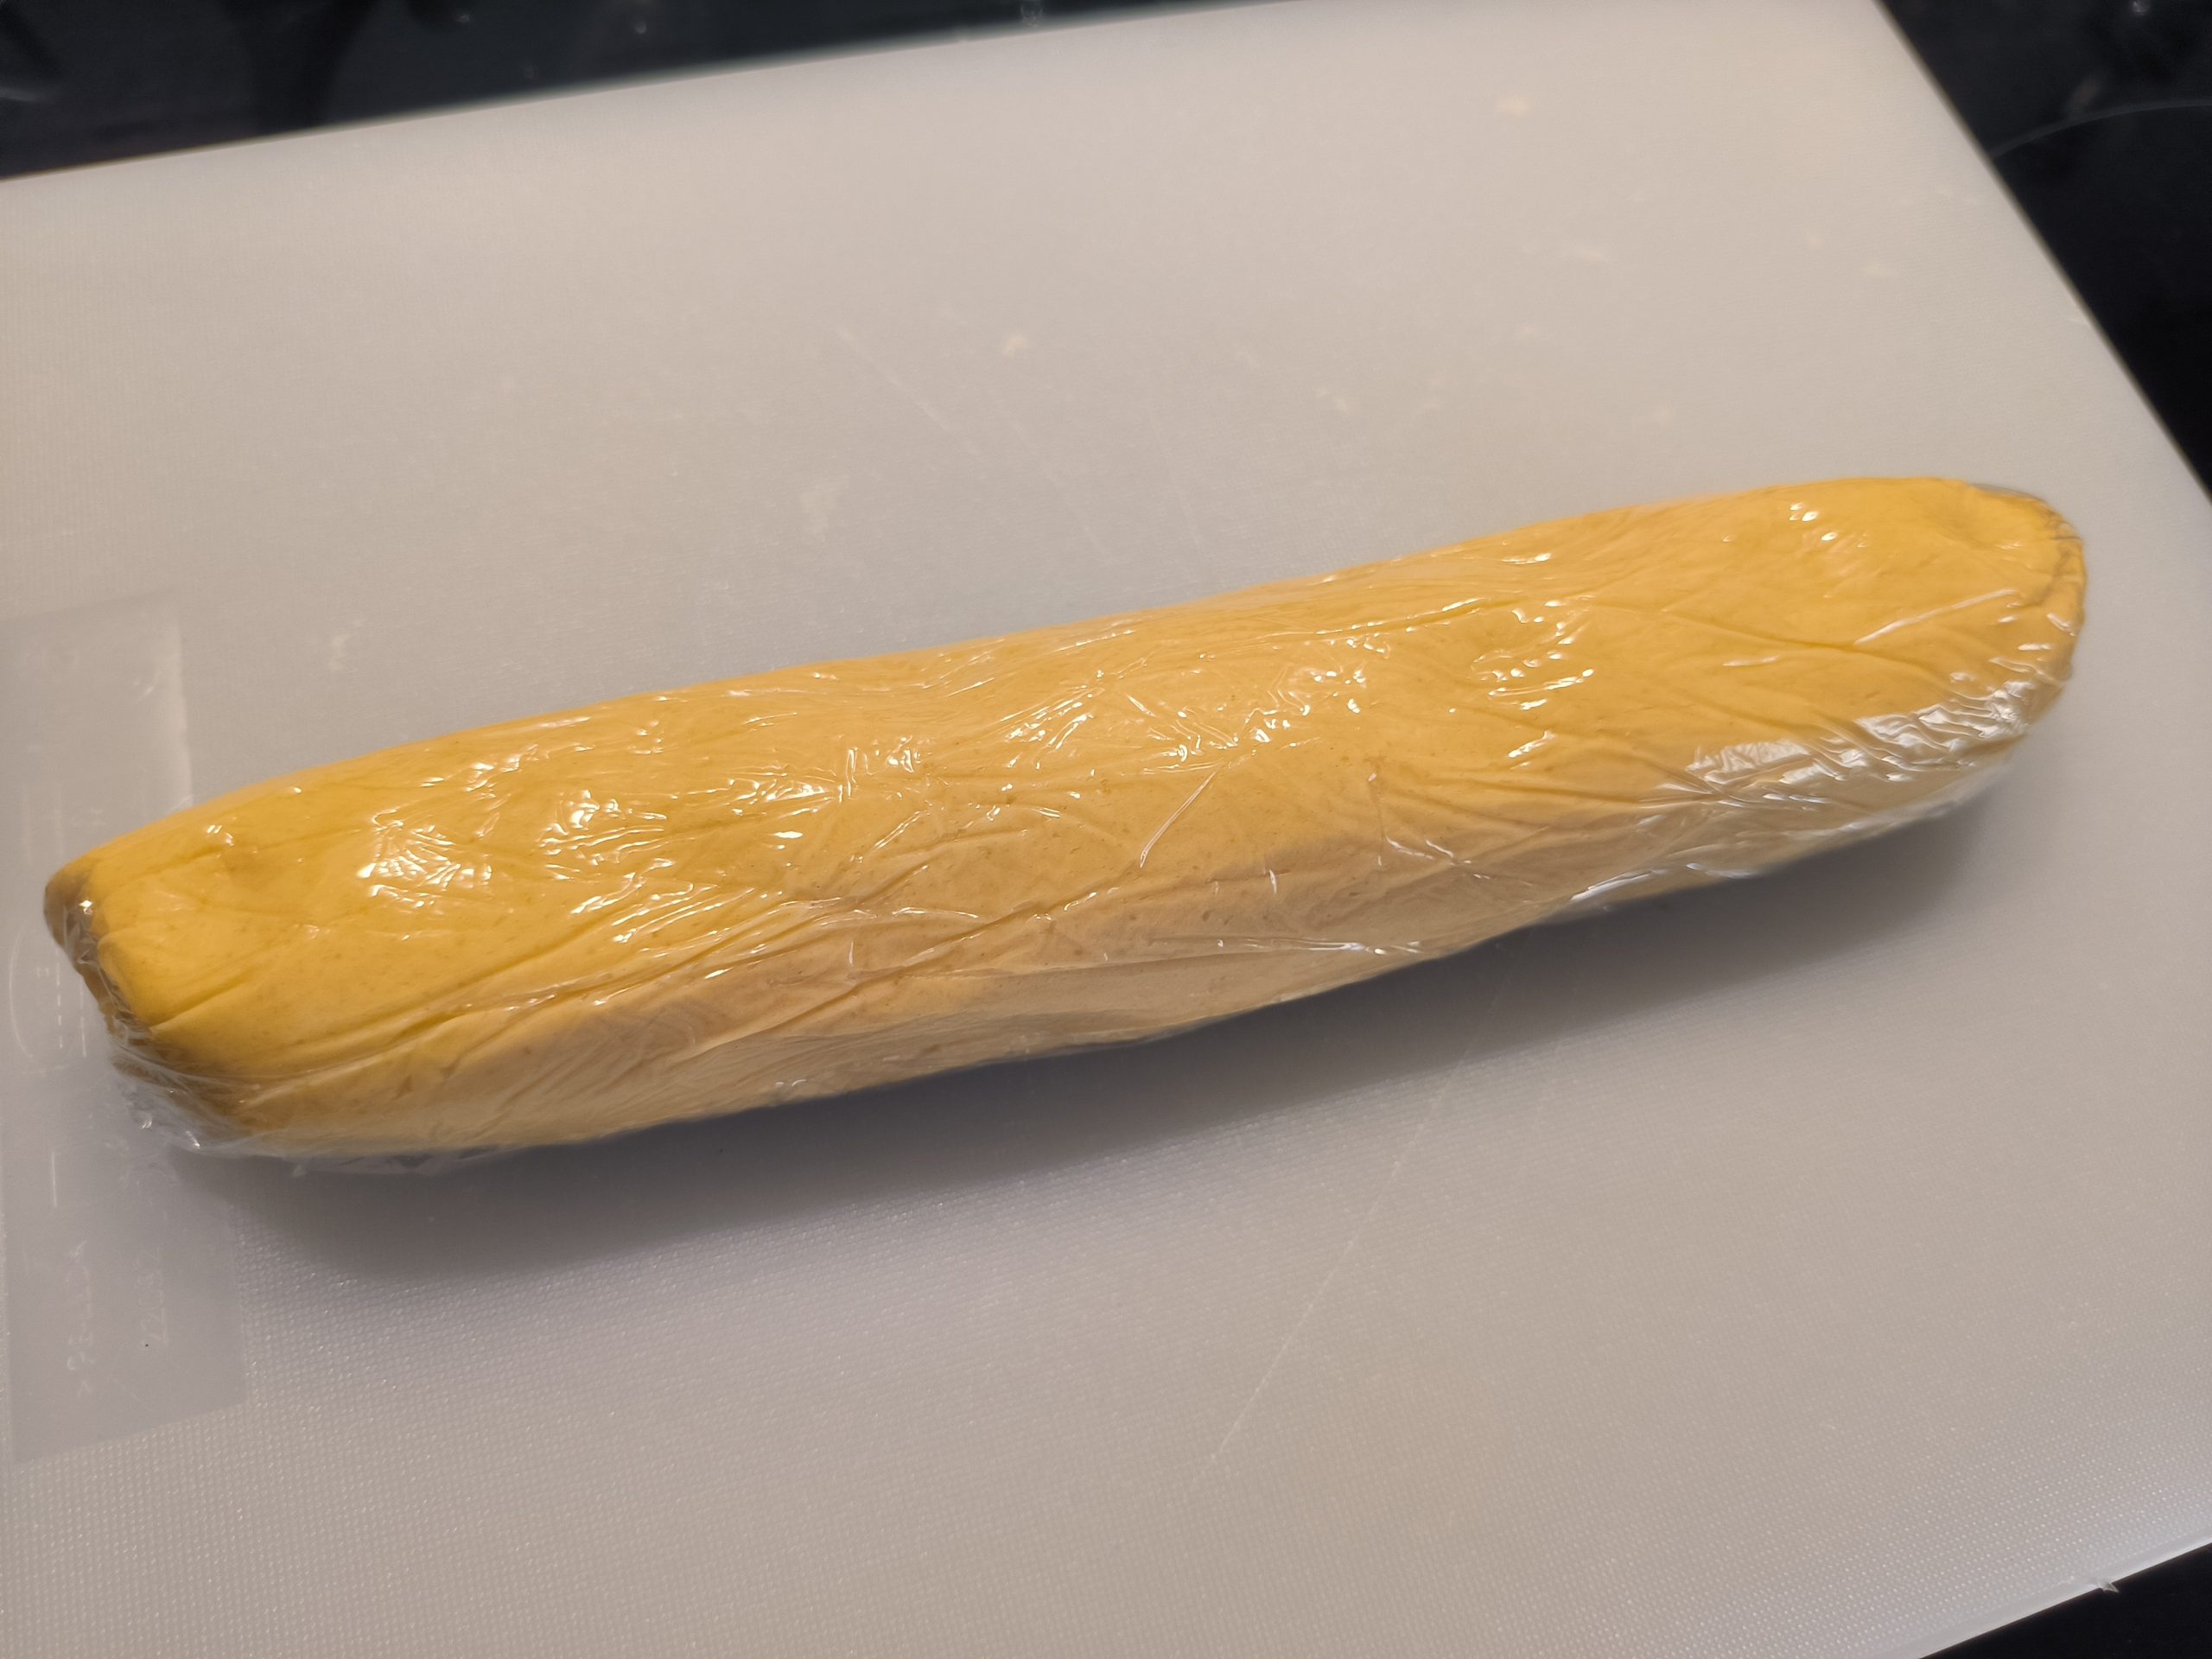
- Let the topping rest until the dough is ready after 1 hour rise.
- ————- Start making the buns ————-
- The dough should have risen. Punch a finger into the dough and it should slowly bounce back
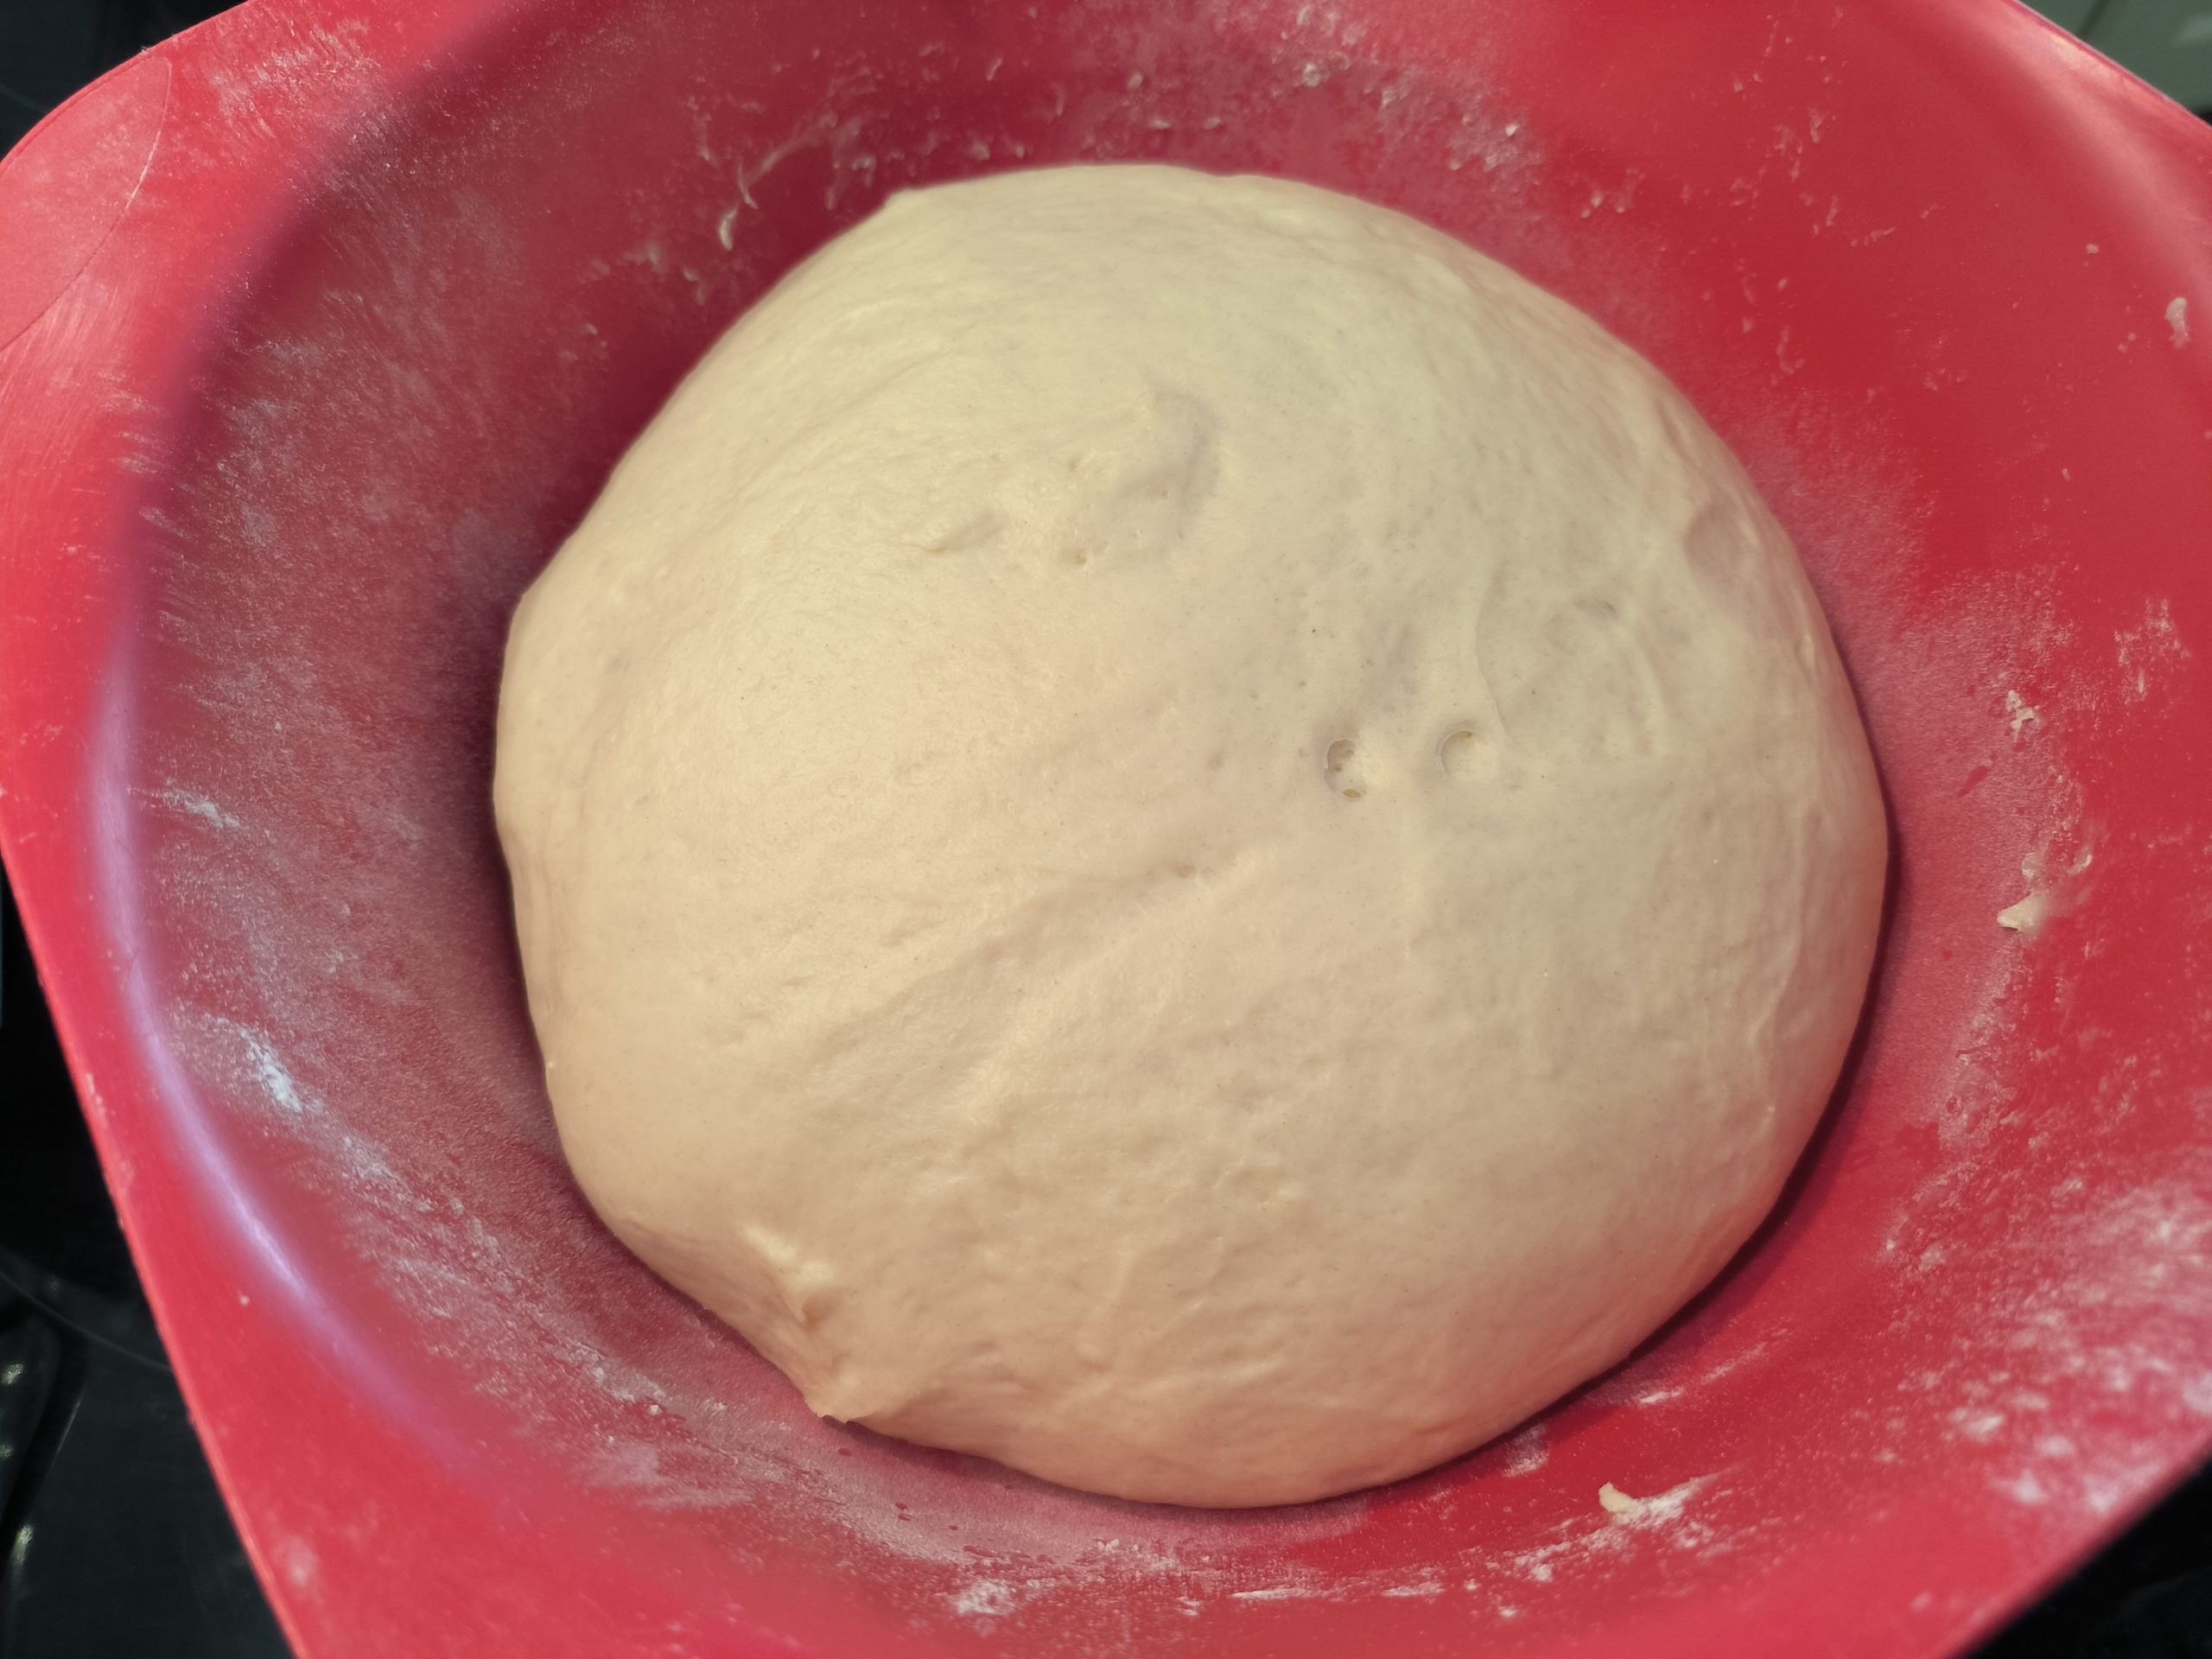
- Take the dough out of the bowl and divide in equal pieces. Personally, I like smaller buns especially mini sizes. The smaller it is, the tastier it gets with an equal balance of the crunchy sweet topping 😊
- Gentle shape every piece into a ball and cover with a kitchen towel and let it rest for 15min.
- After 15 minutes, softly knead each piece and shape it into a smooth ball. See short video on the technique used in shaping the dough into a ball
- Put each ball on a baking sheet with space in between to let it rise for another 40 minutes.
- During the last 10min, pre-heat the oven on 175°C fan function. I use fan function as I have two trays I want to bake in the oven at the same time. If you only have one tray, pre-heat the oven on 190°C on upper & lower heat function.
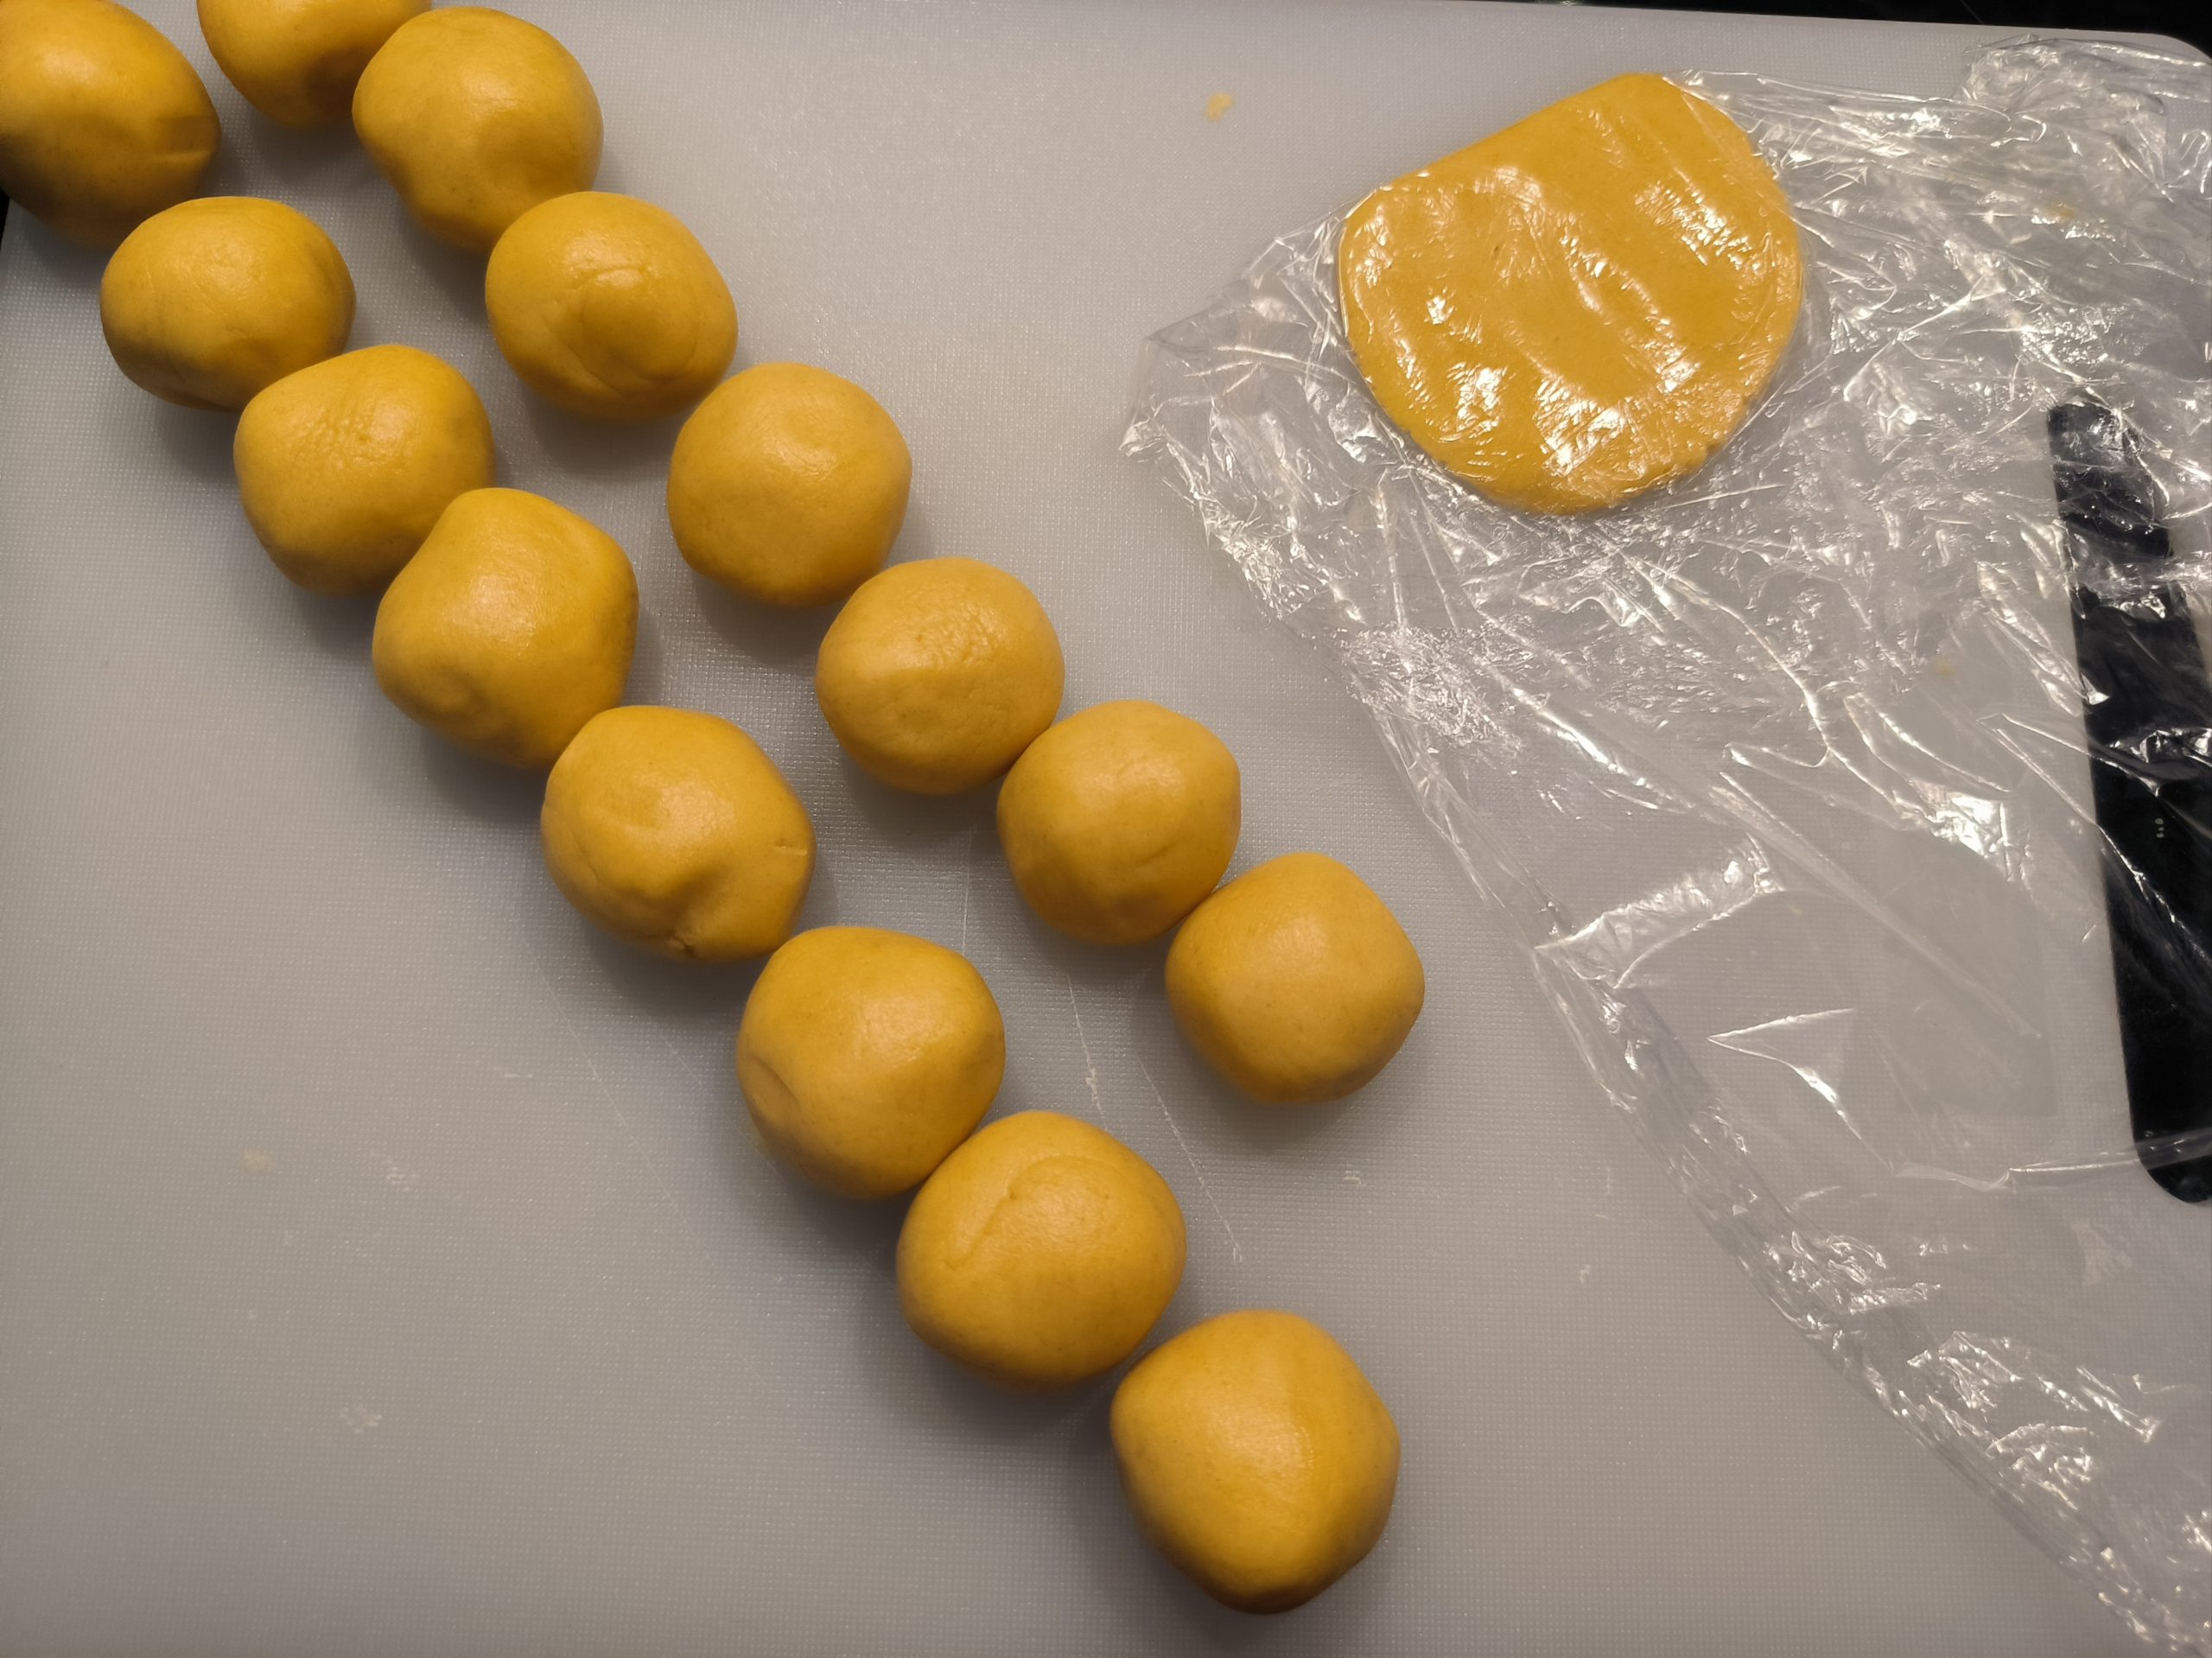
- Then, cut the topping in equal pieces as the number of buns. Don’t throw away the plastic, I prefer to re-use it rather taking a new sheet of plastic.
- Shape each piece into a ball.
- Wrap each ball, piece by piece in the plastic and flatten into a round shape and cover it on top of each bun
-
- In a small bowl, beat the egg yolk and brush the top of the bun. This will bring a gold brown crust in the baking process
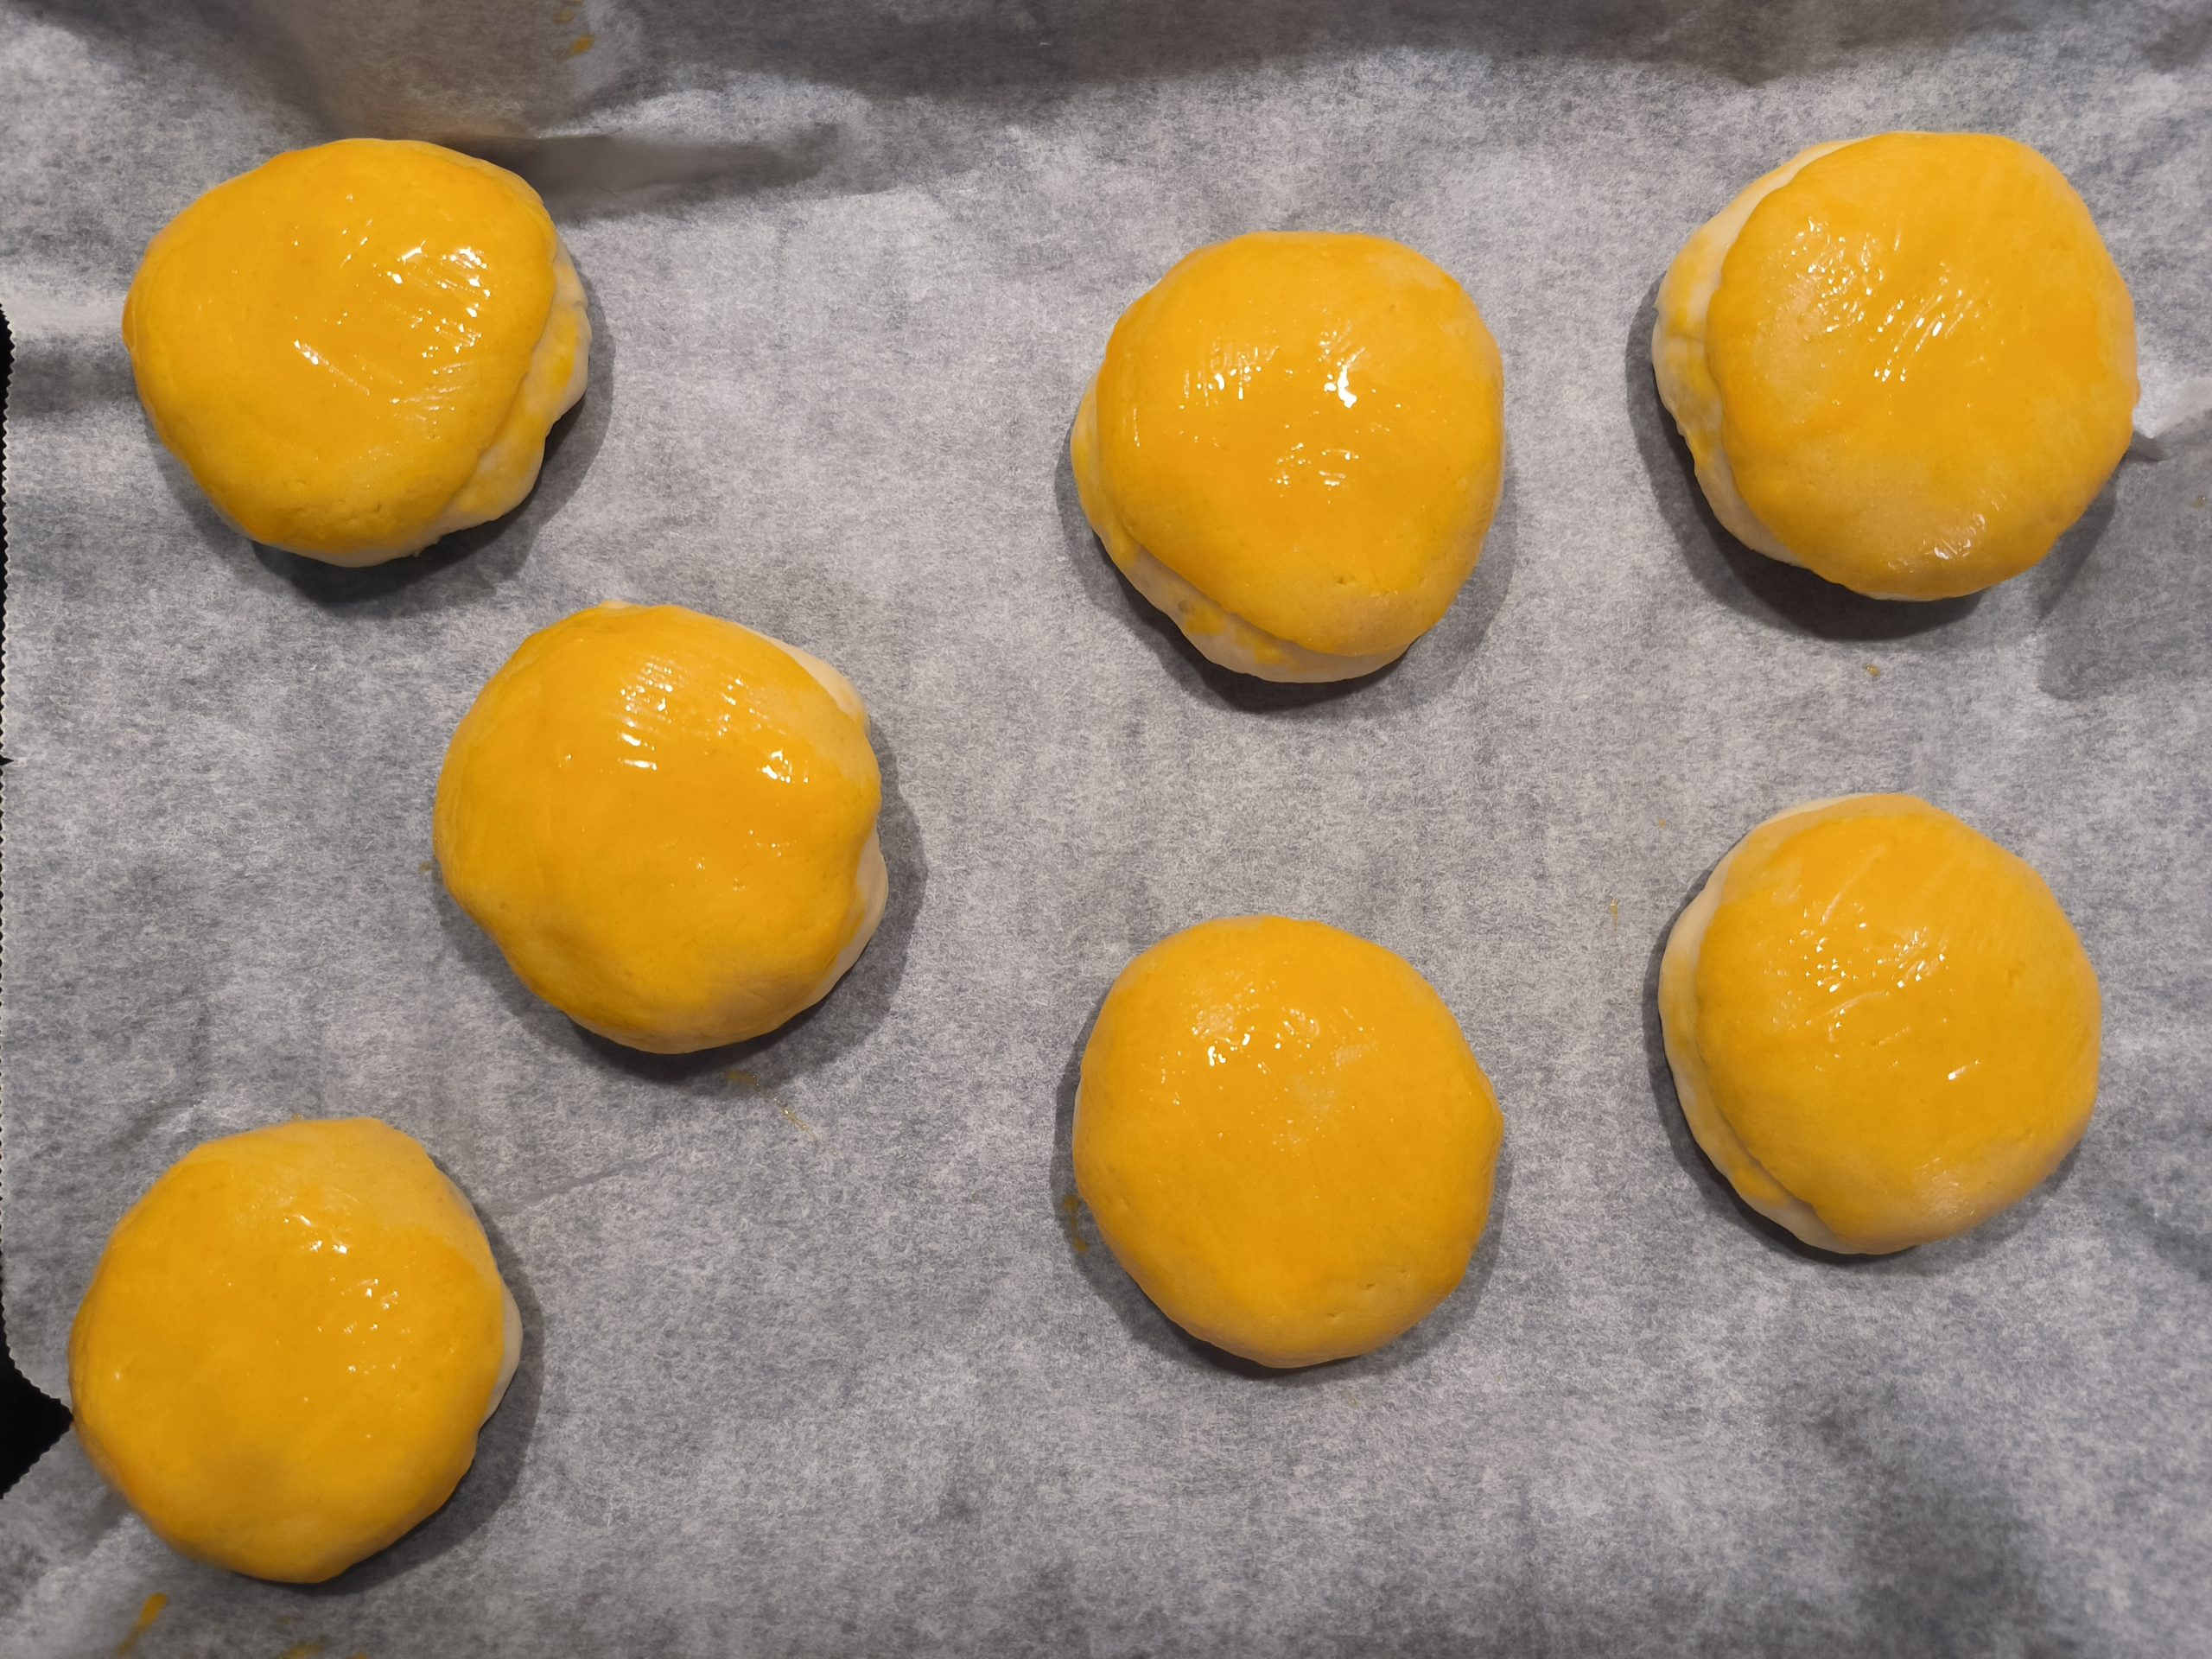
- Bake the buns for ~15min but do check a bit before as you don’t want them to be burnt or bake it a bit longer if you like to have your buns more gold brown.
- For next day consumption, heat the bun short on low heat in the oven or microwave.
Let me know if there are any improvements can be made. Thank you & bon appetite 😊
