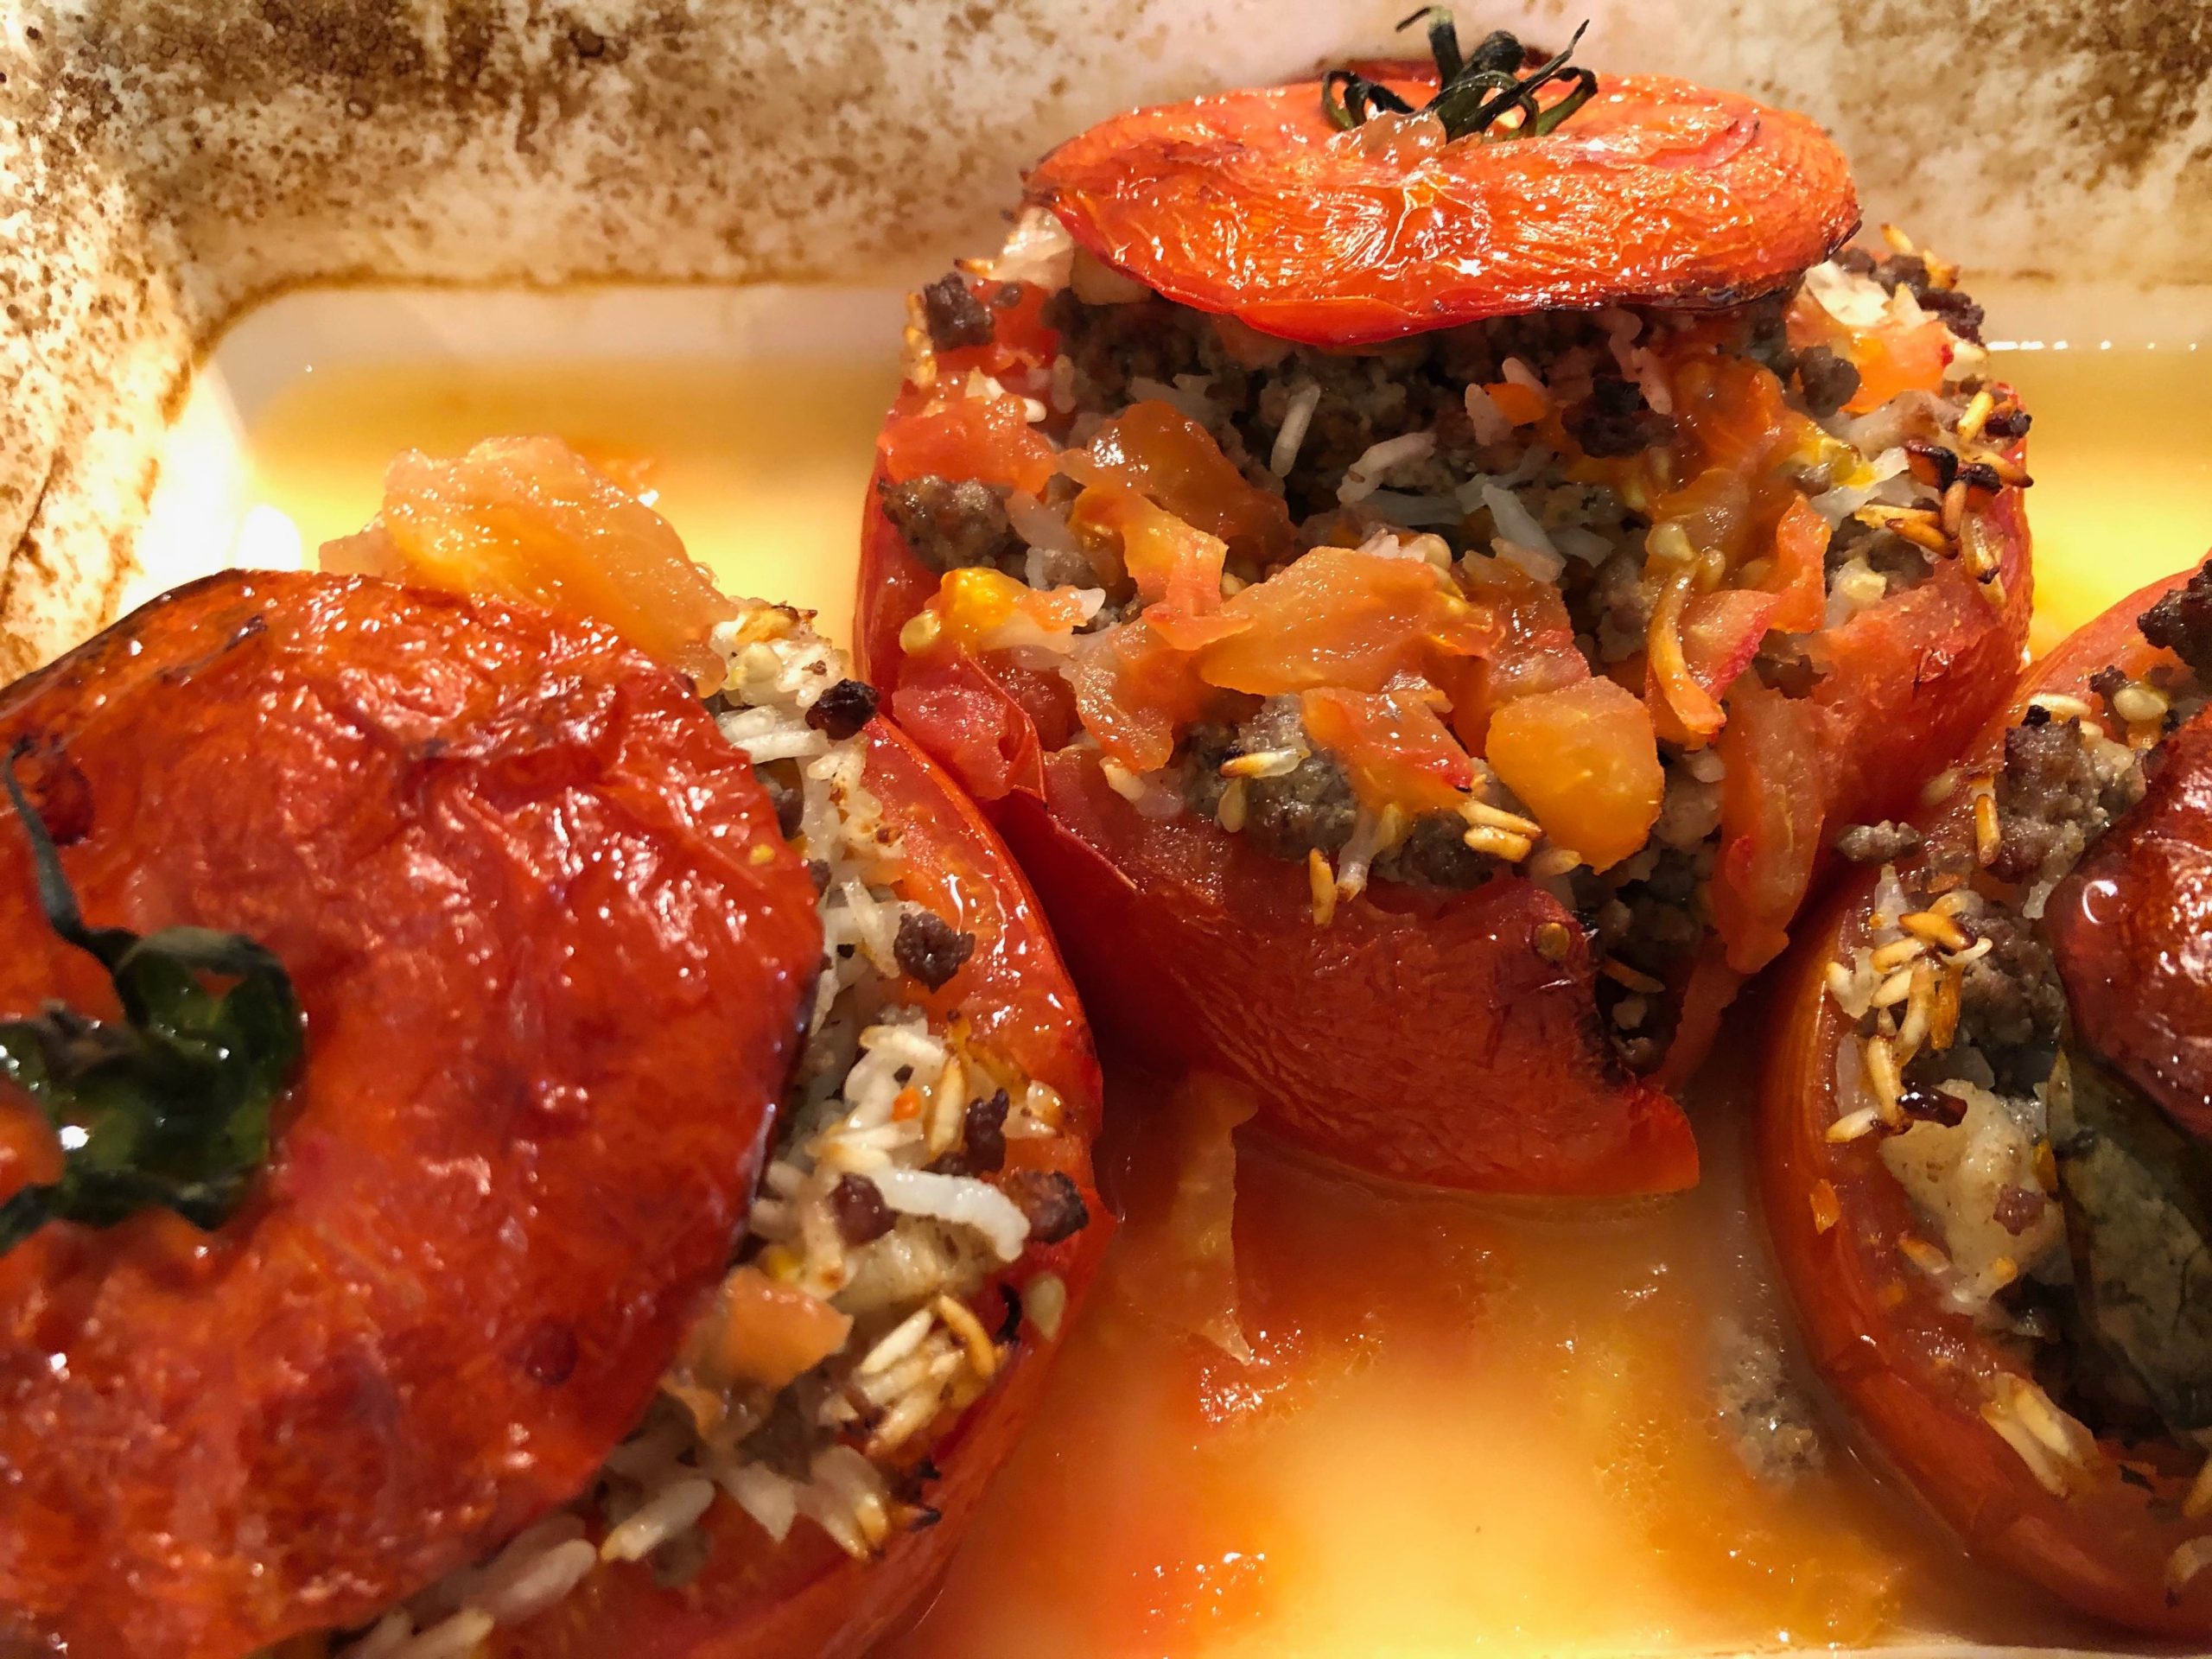
Sticky aromatic rice dumpling Zhong is a delicious festive snack. My mum made these little treats when it was “Dragon Boat Festival” which falls each year on the 5th day of the 5th month of the lunar calendar, approx. late May to mid-June.
On Wikipedia, there is a great write-up about the tradition of making Zhong. In short: this Chinese historical event began with the Duanwu Dragon Boat Festival and the making and eating of zong zi are seeped in love. A loyal senior state office named Qu Yuan (340-278 BC) of the kingdom of Chu spoke out to his leader about his truthful views about how to lead the kingdom. However, others were jealous of him and turned the leader against him. Qu Yuan was banished and eventually the kingdom fell to outsiders. Qu Yuan, in his grief, committed suicide by jumping into a river.
The common people loved Qu Yuan so much that they rowed out to try to find the body. When they could not find it they wrapped rice with bamboo leaves and threw it into the river to distract the fishes from eating the body. And thus began this now ancient yearly love memorial from the Chinese people: the dragon boats racing through the rivers and the wrapping of the bamboo rice dumpling.
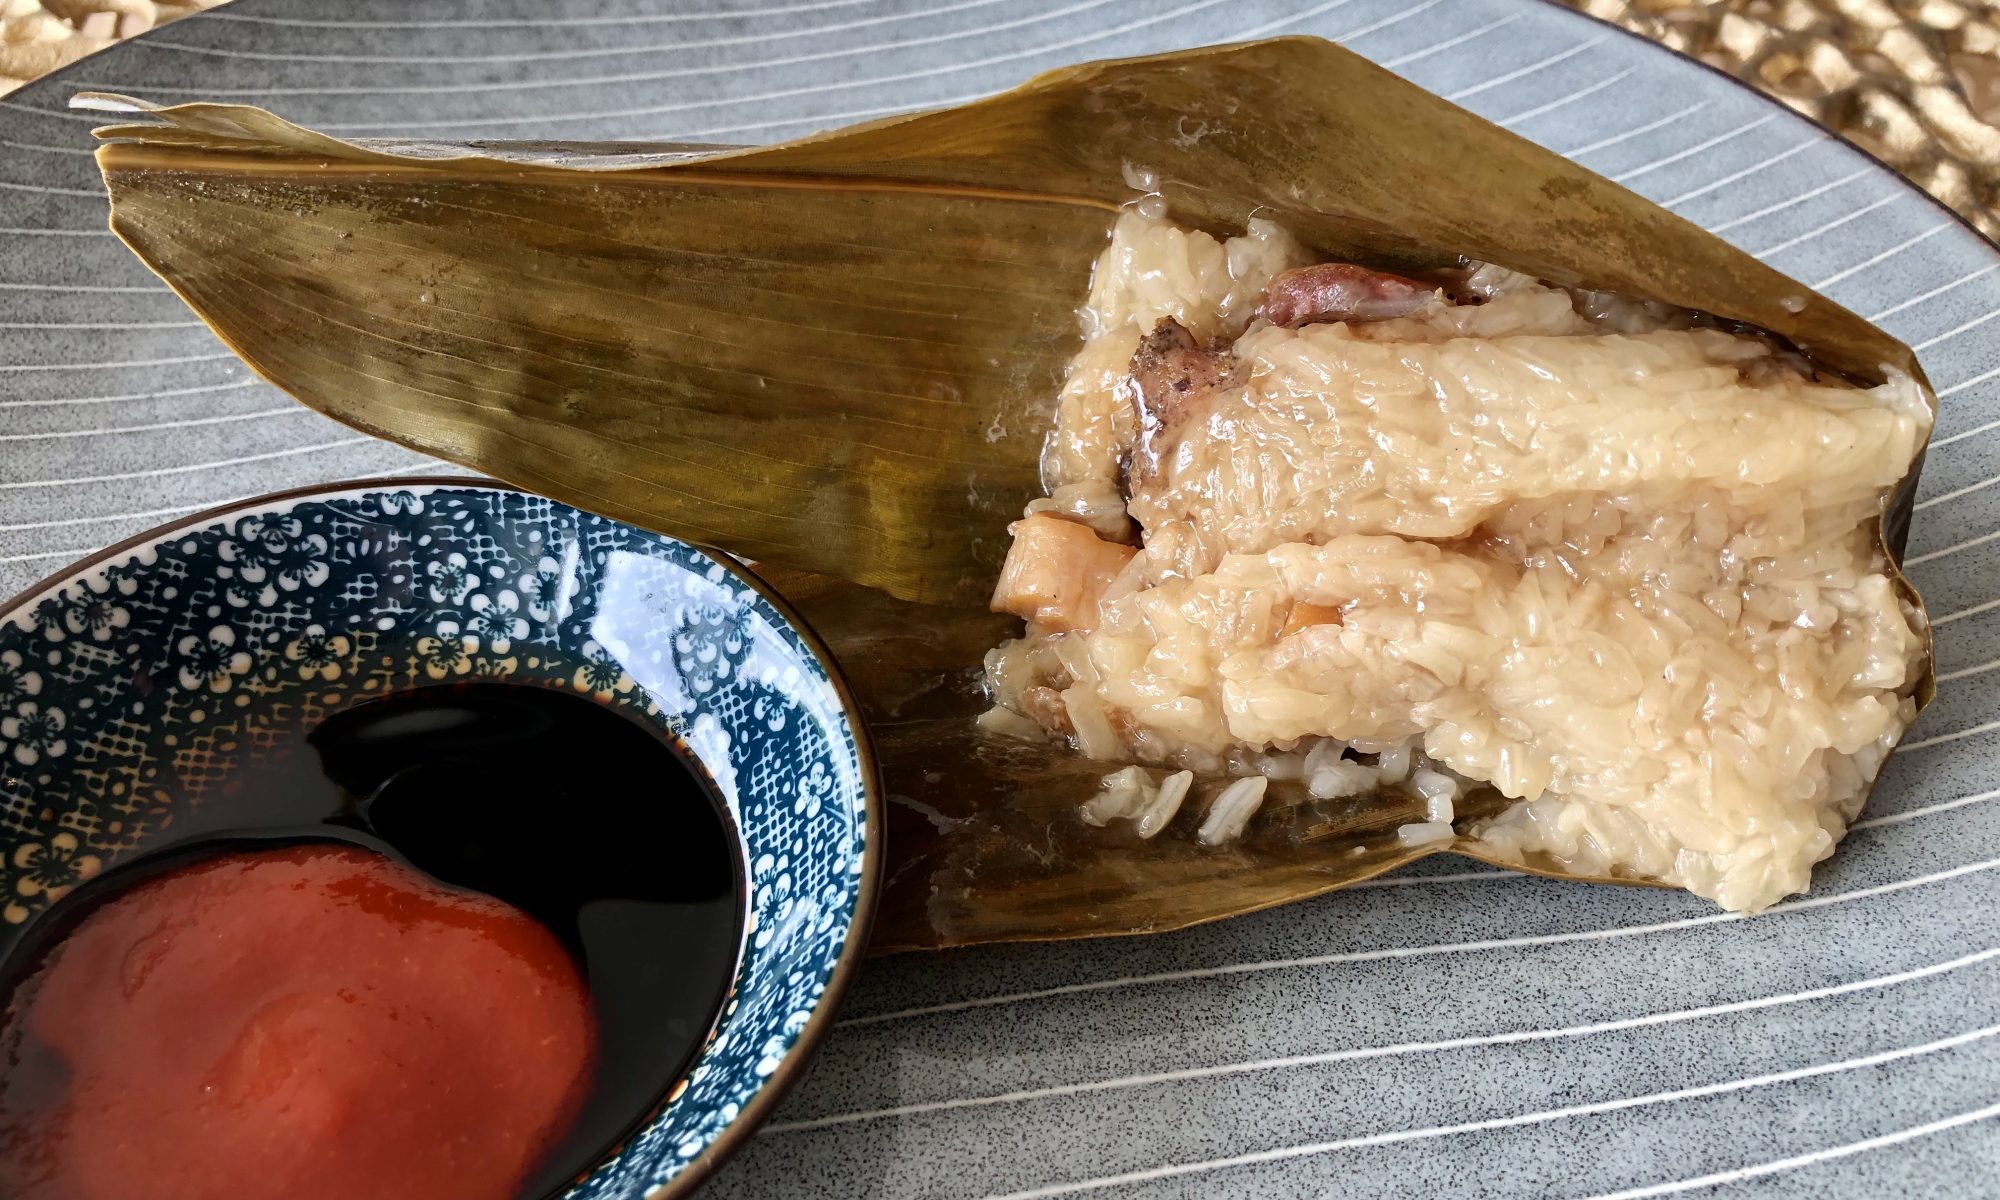
Zhong (in Cantonese), is a Chinese traditional festive food made of glutinous rice with different sweet or savoury fillings wrapped in bamboo leaves. After being cooked in water, all the ingredients stick together and stay in a particular shape when unwrapped. In the Western world, they are also known as rice dumplings or sticky rice dumplings.
This aromatic and flavoursome treat involves a tremendous effort and specific preparation but definitely worth than buying as the ingredients you use at home are better in quality and in taste. The filling used and wrapped shapes varies from region to region.
I make my Zhong on my preferred ingredients which does not come from any specific region… at least I think. It’s all about what you want to eat right 😊
First time making Zhong might take quite some effort and time in tying the Zhong in the bamboo leaves. I really thought, never again but until the moment I had my first bite on my very own wrapped Zhong… I loved it! All my childhood memories being together with my mum overflood me with emotions and joy. The second and third time went much smoother as the process and skillset was apparently still there while I haven’t wrap it for a long time.
You can store the Zhong for a few days in the fridge after it cooled down from the cooking process or store in the freezer for each time consumption. Re-boil in a pan of water or steam the Zhong for about 20-30min. In my opinion, the latter taste better. The structure and flavors remain well contained in the wrap for a delicious snack bite.
Cooking time: approx. 3,5 – 4hrs and serves ~20 portion bites
Ingredients & Tools
- 40x bamboo leaves, take extra leaves in case some will torn during wrapping
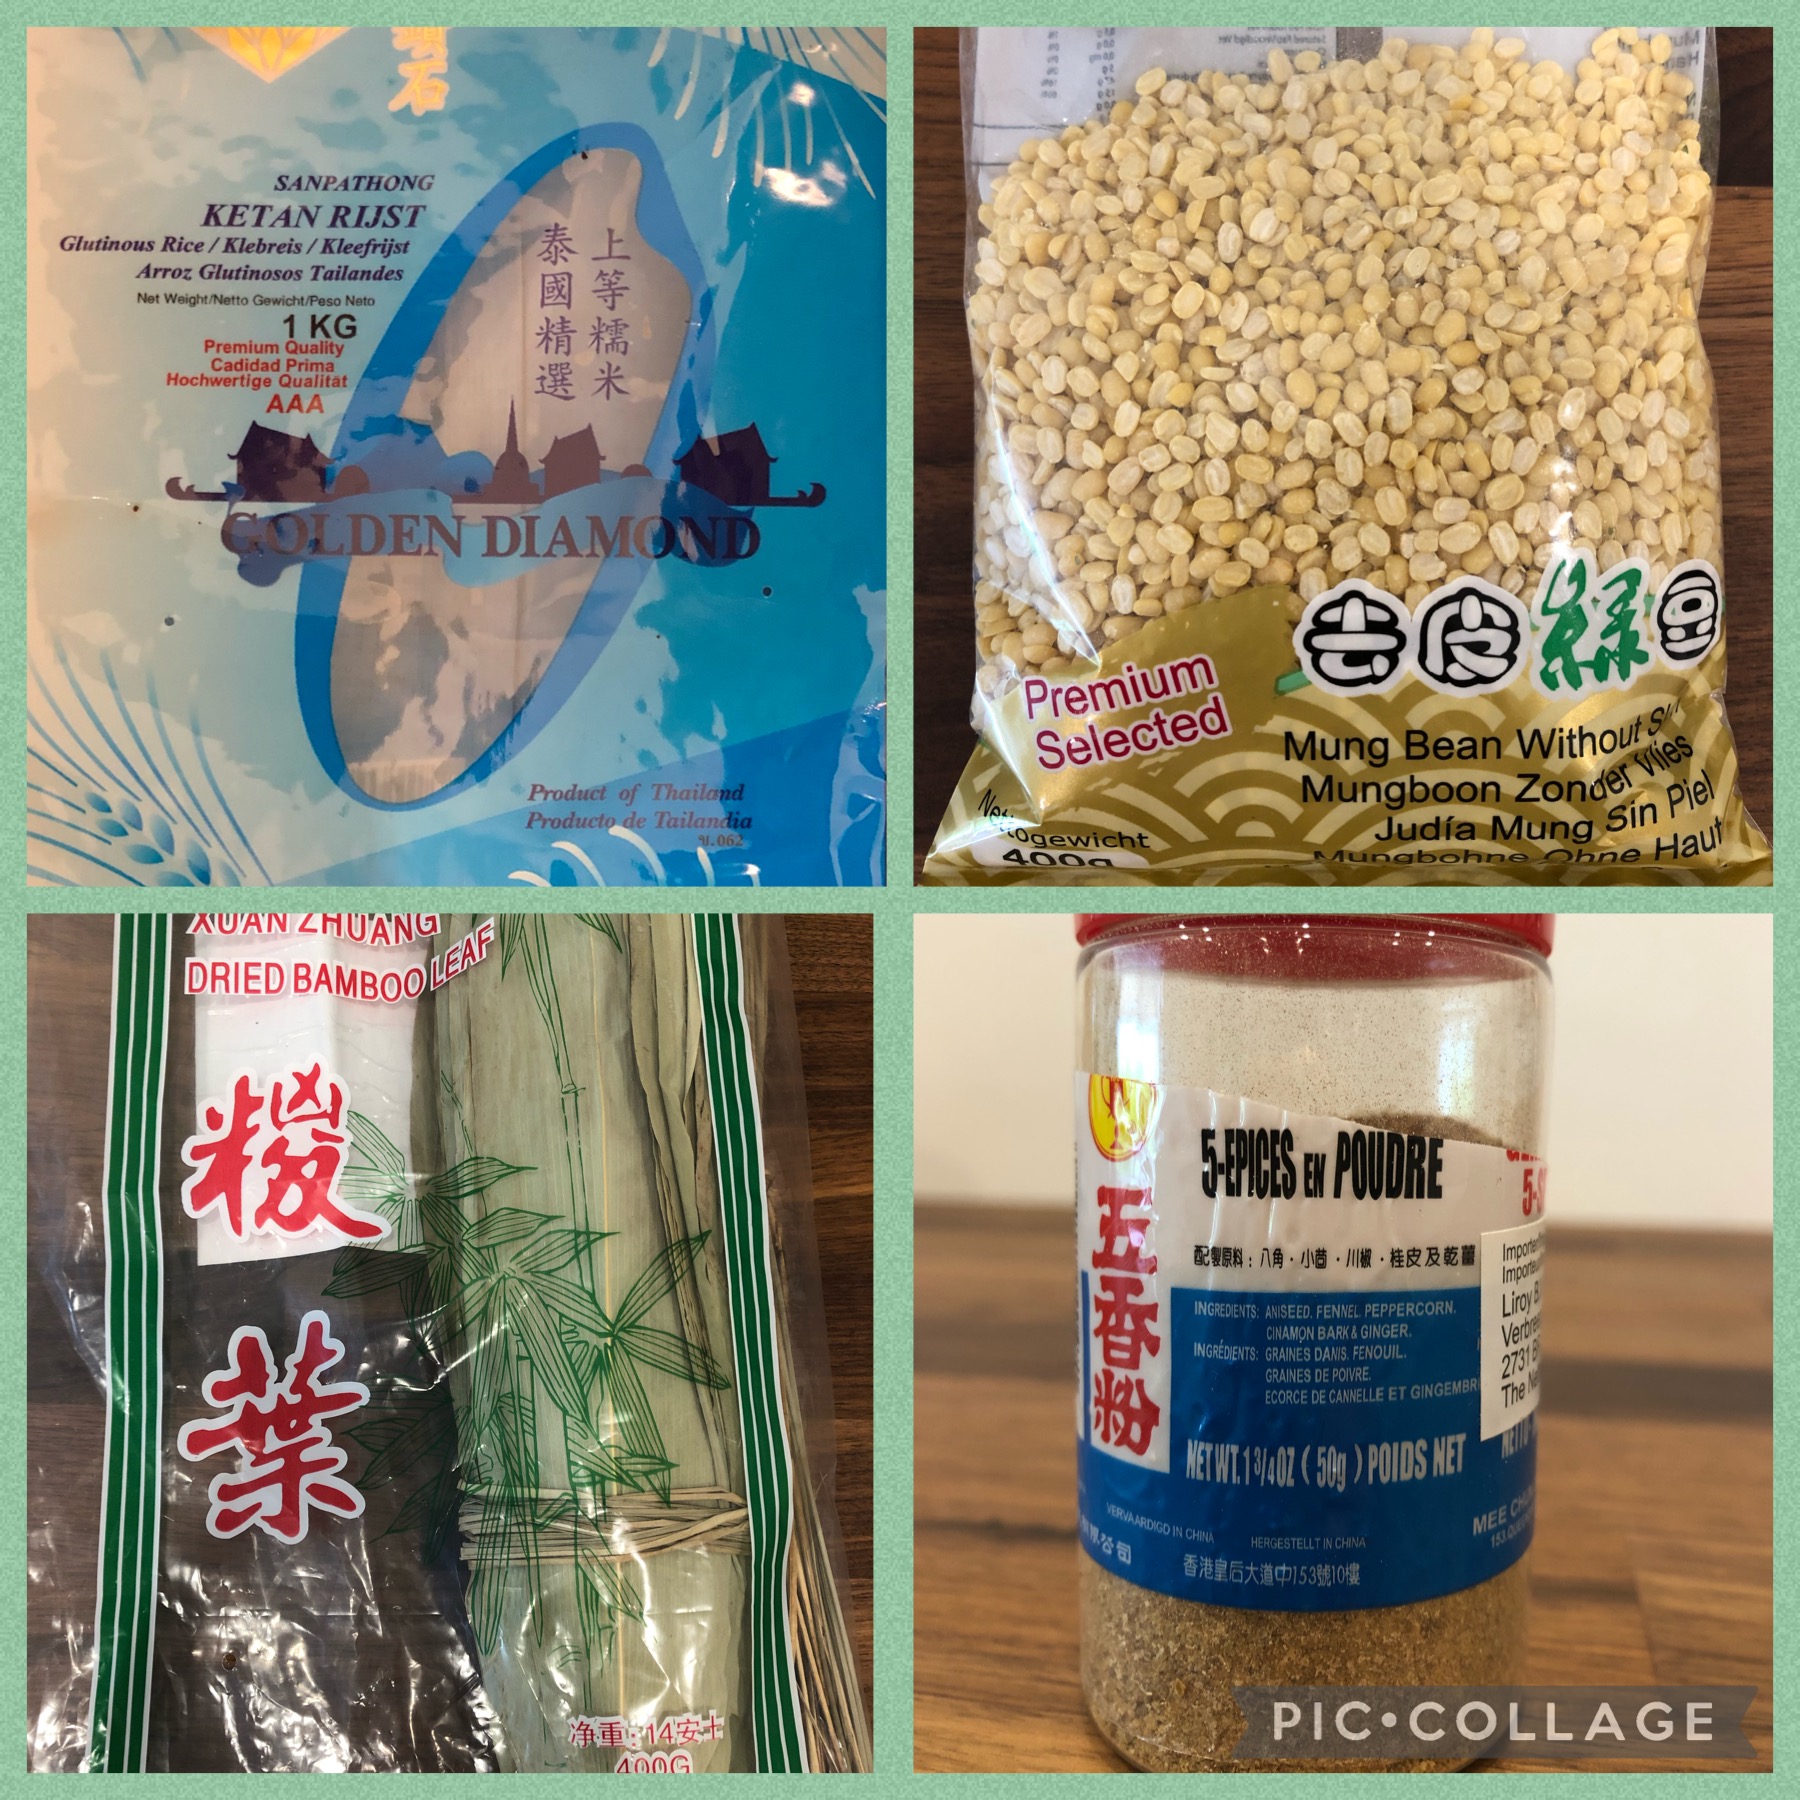
- 1kg glutinous rice
- 3x Chinese sausage
- 10x Chinese/shitake mushroom
- 8x dried scallops or handful dried shrimps
- 400-500gr boneless frozen roasted duck (defrost before cutting) or chicken thy fillet with skin. Do not remove the skin because the fat will give some extra aroma. In general, pork belly meat is being used.
- Optional: 200-300gr mung beans
- Chinese five spices
- Soja sauce
- Rice wine
- Sugar
- 2 big bowls
- 1 big plastic tray or something to put the bamboo leaves on
- Aluminum foil
- Sieve
- Some smaller bowls to put the ingredients in
- 1 large soup pan
- Natural (cotton) strings
- Scissor
- 1 Tbsp = table spoon
- 1tsp salt in the soup pan when you start boiling the Zhong
What to do?
- ————- Prepare ingredients overnight – 30min ————-
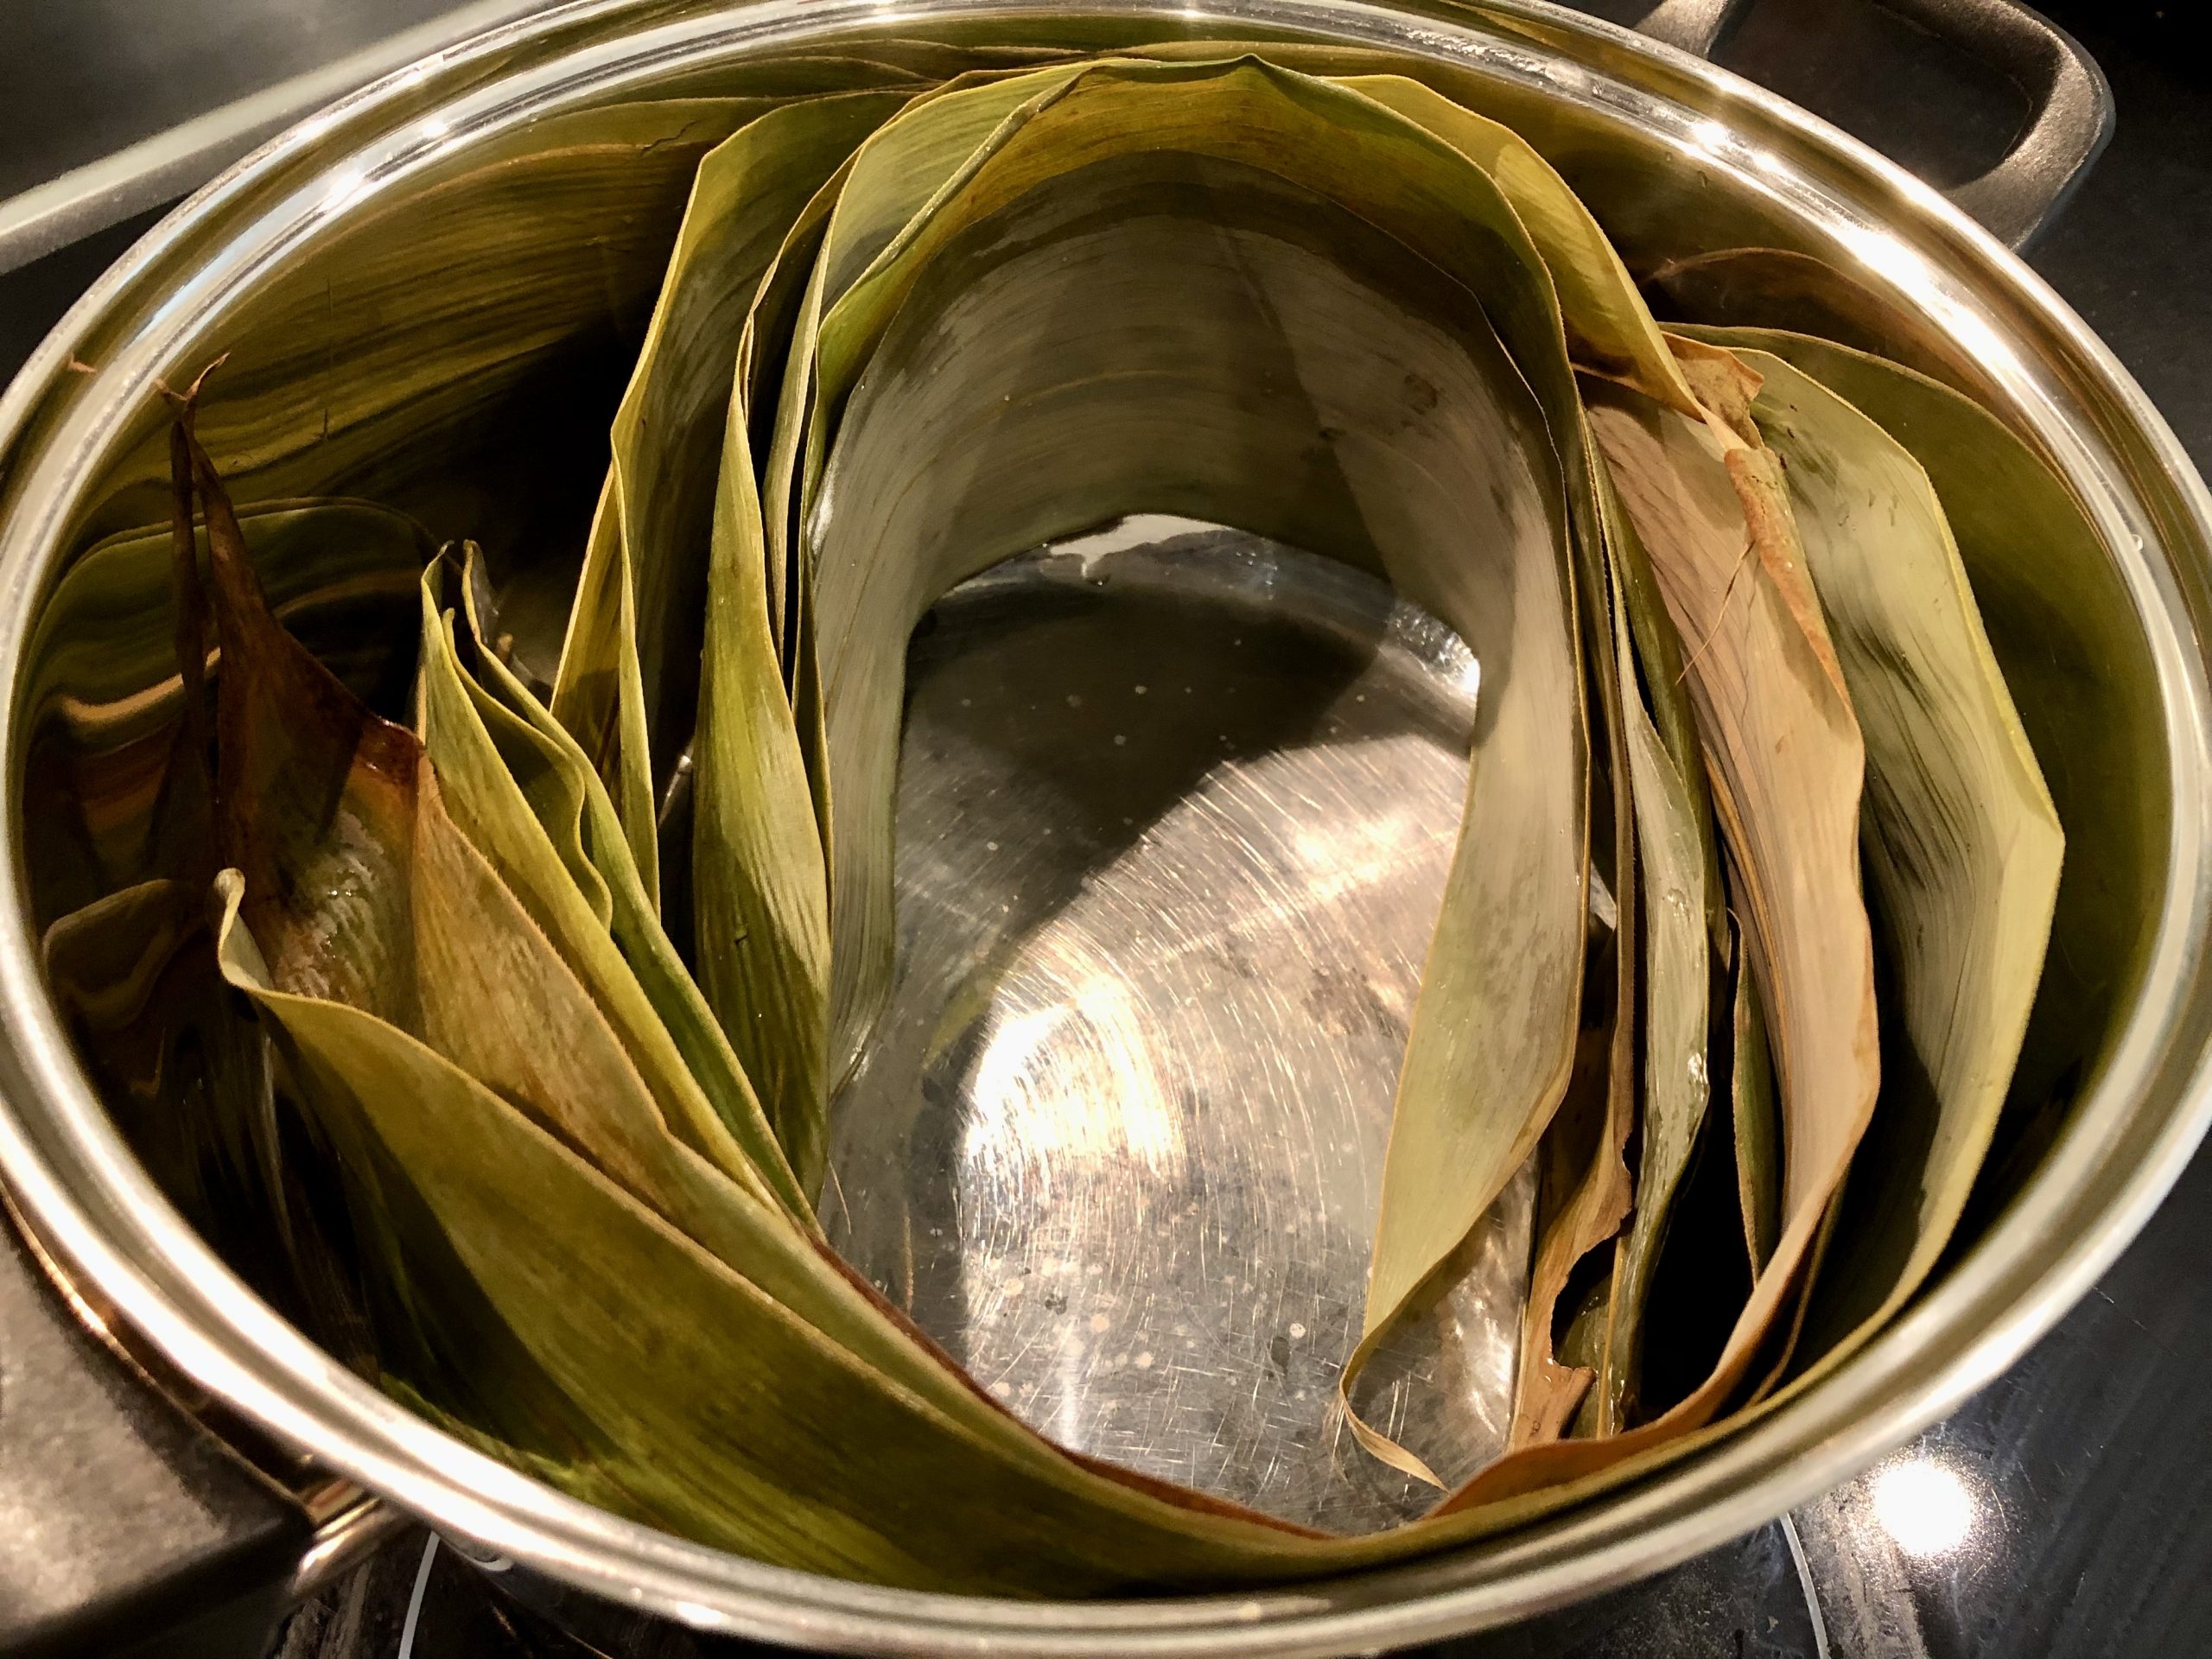
- Soak the bamboo leaves in water. This will make them soft for wrapping. You can put the leaves alongside in a big pan
- Soak the rice in water in a big bowl.
- Soak the mung beans in water in a big bowl.
- Soak the scallops or dried shrimps in water in a bowl.
- Roasted duck: cut the duck in small chunks or pieces and put them in a bowl.
- Chicken thy fillet or pork belly: cut the meat in small chunks or pieces and put them in a bowl.
- Add 1 Tbsp rice wine to the meat bowl.
- Add 2 tsp sugar.
- Sprinkle a bit of soja sauce (2 Tbsp) and add 2 Tbsp Chinese five spices and mix the meat with everything in the bowl.
- Cut the mushroom in thick slices.
- Cut the sausage in thick slices.
- Cover the bowls with aluminium foil and store in the fridge.
- The rice and bean bowl can stay on the kitchen table.
- ————- Prepare ingredients next day ————-
- Take the bamboo leaves out of the water and drain it upright.
- Drain the water out from the rice and mung bean bowls. You can use a sieve to catch up the rice/beans.
- Drain the water out from the scallops or dried shrimps.
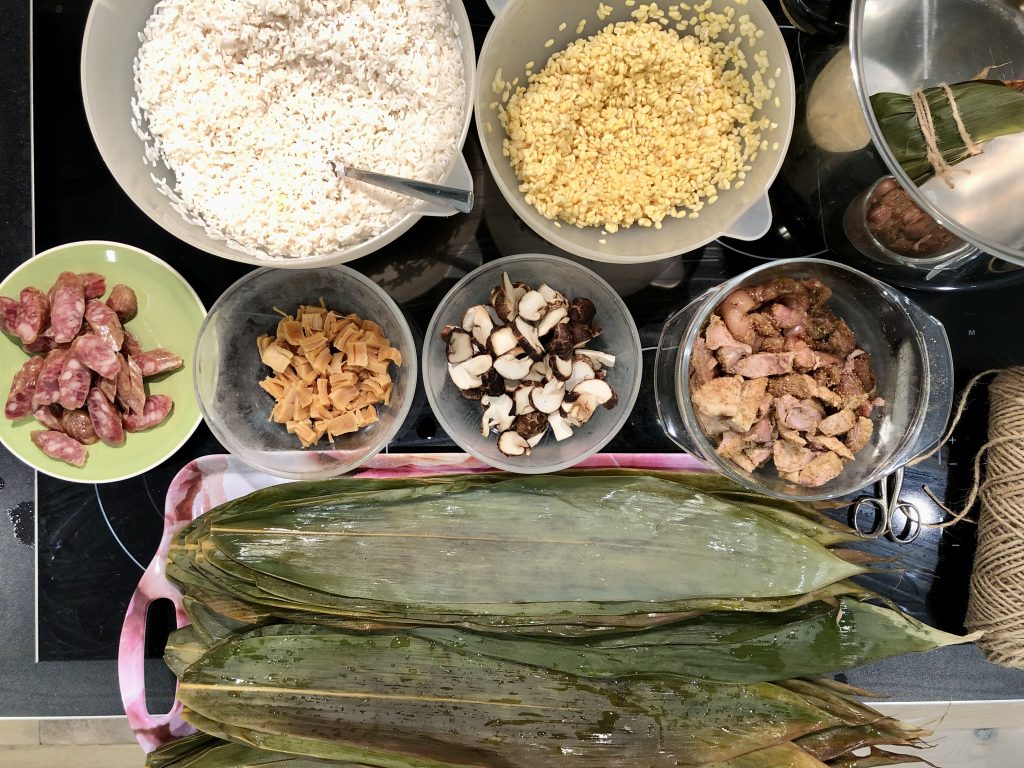
- Lay out all the ingredients on the kitchen table.
- ————- Wrapping 45min/1hrs ————-
- Please check out my video on YouTube on how to hold the bamboo leave and how to wrap the Zhong.
- Put each wrapped Zhong in the big pan.
- ————- Boil for 2hrs ————-
- Put 1 tsp salt in the pan.
- I pre-boil water in a water cooker at 70C. What temperature is your own preference and is not a must.
- Fill the big pan until the last layer of Zhong. Do not overfill, especially not close to the lid edge. While boiling the Zhong, boiled water might overspill from the pan.
- First boil 20-30min on medium heat, then lower the heat with the lid on.
- Check from time to time that water is not flooding over or drying out. You can refill water if needed as the Zhong need to be covered in water. The longer you boil, the softer and stickier the rice get.
- Take all Zhong out of the pan and let it cool down or start enjoying your hard effort of work 😊
- ————- How to eat ? ————-
- Cut the string off from the Zhong.
- Unwrap the bamboo leaves.
- Dip with a little bit soya or spicy sauce for extra flavors.
Let me know if you like my Zhong or share your view on where I can improve my wrapping skill.
Share this: