Refreshing Healthy Quinoa Salmon Salad

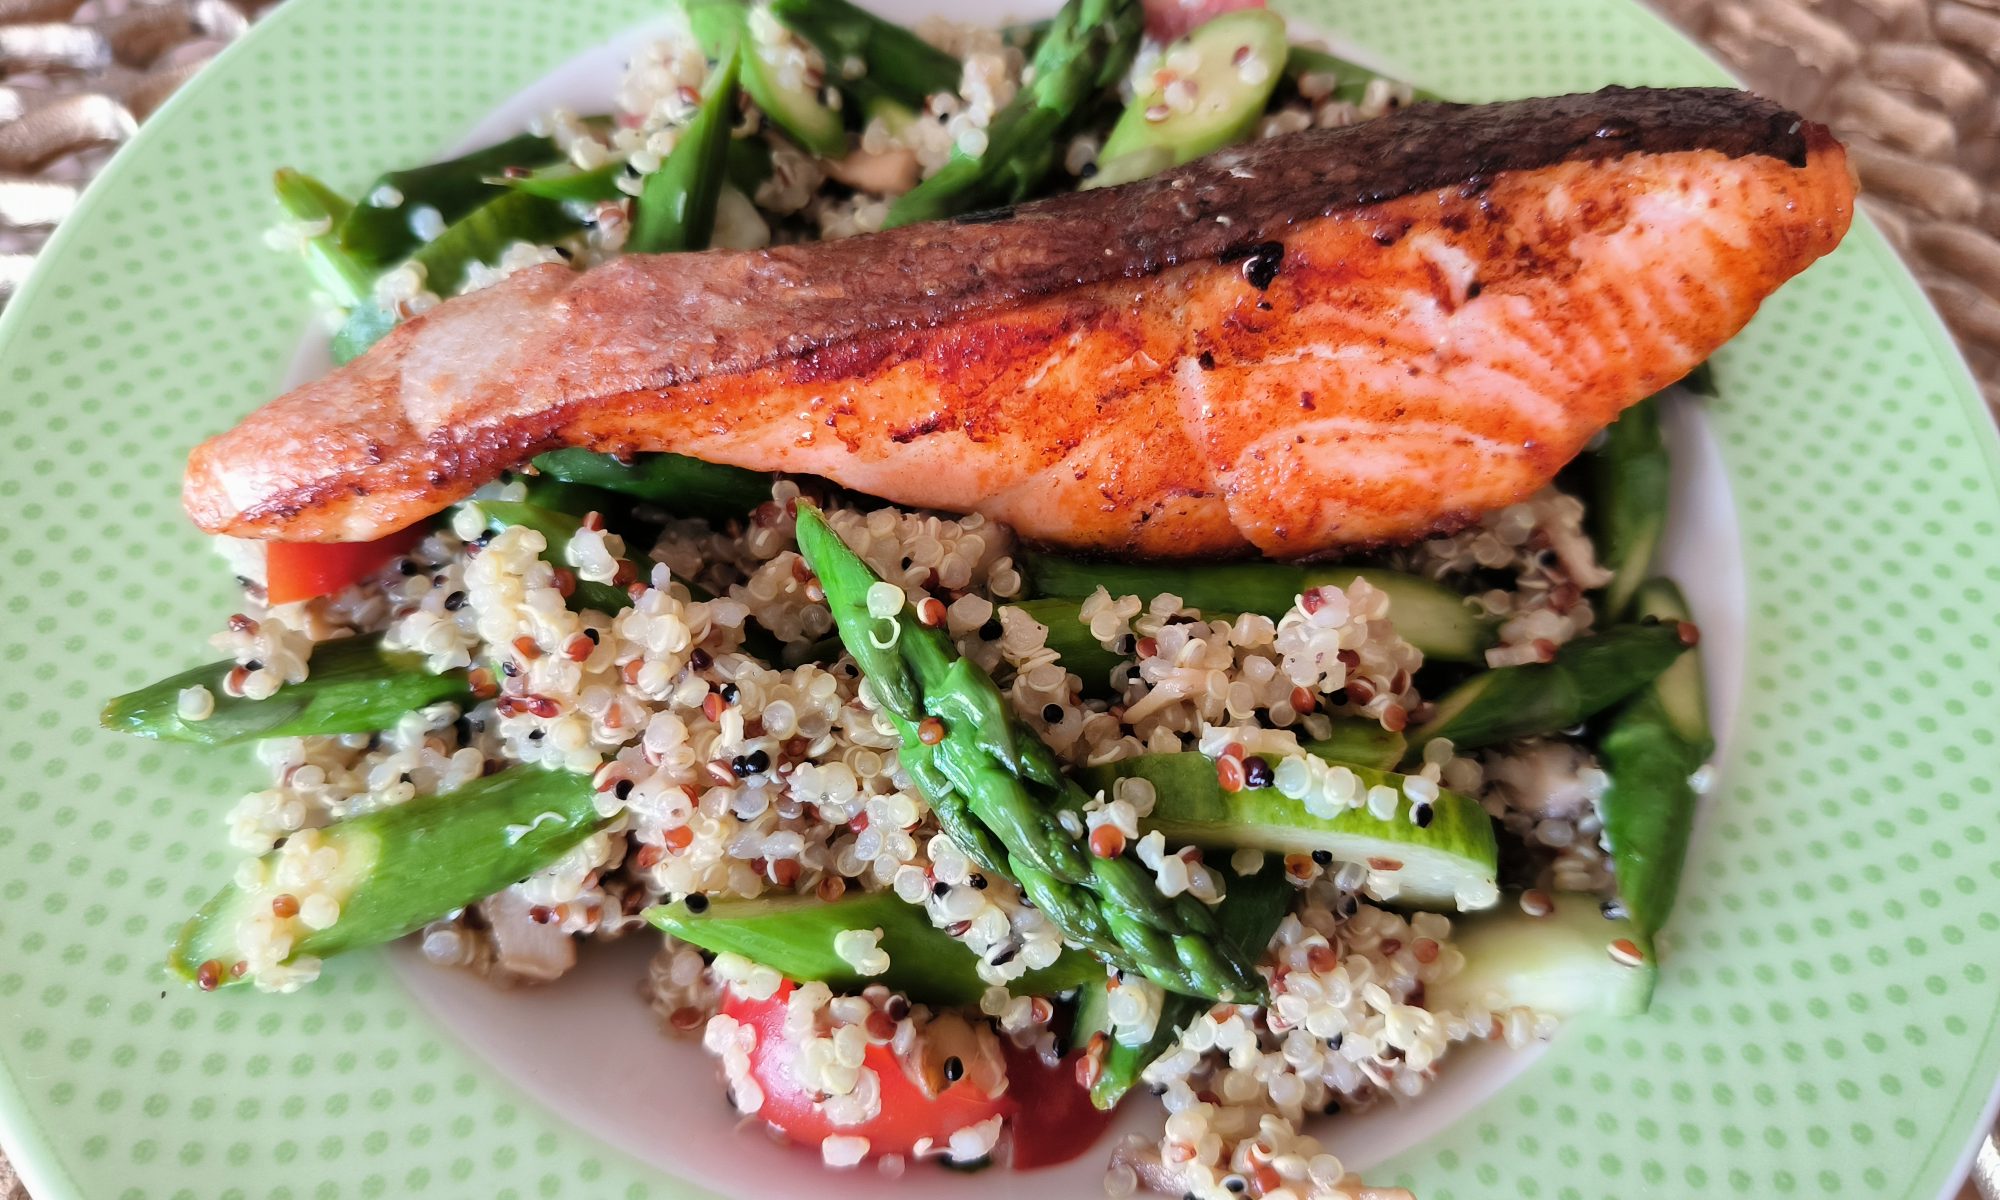
Refreshing healthy quinoa salmon salad is delicious for all seasons but especially in the summers when you make the dressing from fresh lemon juice and honey. However, making this salad will take a bit of effort in multitasking in preparing the ingredients but you will for sure love it at your first bite.

A suggestion is to make a double portion and keep one portion for max two days in the fridge. I prepare most ingredients for 2 consecutive meals in one go but do the salmon, cucumber, tomatoes, and dressing separately when I eat it the next time again. This will save you time in making the salad from scratch. You can keep the cooked quinoa & pan-fried vegetables after it cooled off for max 2 days in the fridge. Make sure you keep it in a contained box.

Quinoa seeds are rich in fibers, protein, vitamin B and nutrients and is lower in calory than rice. When you add a small piece of salmon on your salad, it brings a healthy tasteful light meal for your body.

Cooking time 1 portion: 35min

Ingredients & Tools

  • 60gr tri-colour quinoa (60gram per person or 1/3 cup)
  • 8 stalk green asparagus or a handful sugar snaps
  • 4-5 shitake mushroom
  • 1 toe garlic
  • ½ fresh yellow lemon juice
  • 1 tsp extra verge olive oil
  • 1 tsp liquid honey
  • Olive oil & butter to pan fry the vegetables
  • Pepper & salt to taste
  • 125gr salmon with skin
  • 4 cherry tomatoes
  • 8cm cucumber
  • Optional garnish: roasted sesame seeds or garden cress
  • 1 pot to cook quinoa
  • 1 big glass/ceramic bowl
  • 1 bowl/cup for dressing
  • 1 frying pan
  • Kitchen paper towel

What to do?

  1. ————- Cook Quinoa ————-
  2. Boil water in the water boiler.
  3. Put 60gr or 1/3 cup quinoa in the pot and pour gentle boiling water in with 1,5 cm water above quinoa level.
  4. Boil the quinoa with the lid on medium-low heat and let it simmer for about 12 minutes.
  5. Once all water is evaporated, switch off the heat and put the pan aside. Stir through the quinoa and let the heat steam off.
  6. Scoop the quinoa over into a big glass bowl to let it cool off further.
  7.  ————- Prepare Vegetables ————-
  8. Rinse 8 asparagus stalks under the tap.
  9. Dispose the end (this part is often hard and not nice to eat) and cut the asparagus sideways in bite sizes.
  10. Remove any dirt from 4 shitake with a brush or rub dirt away with a kitchen paper towel.
  11. Cut shitake in medium-thin slices including the stalks.
  12. Chop 1 toe garlic very fine.
  13. Heat the fry pan with a bit of olive oil mixed with a bit of butter.
  14. Fruit the garlic in the pan and add the asparagus and shitake in the pan. If you like crunchy vegetables, pan-fry it short and try one if it’s to your texture.
  15. Sprinkle salt & pepper to taste and scoop the vegetables in the quinoa bowl to cool off.
  16. Bear in mind, the heat in the vegetables is still in a cooking process. You might not want to cook it too long if you like it crunchy
  17. ————- Panfry Salmon————-
  18. Re-use the fry pan without cleaning and add a bit butter on medium-low heat.
  19. Dry the salmon off with a kitchen paper towel and put the skin side on the pan.
  20. On the skin side, you can cook it the longest to make it crispy and easy to remove if you don’t like to eat that part.
  21. Bake on each side until the salmon is cooked.
  22. ————- Salad dressing ————-      
  23. Meantime while baking the salmon, squeeze ½ fresh lemon juice in a small bowl/cup.
  24. Add 1 tsp extra verge olive oil
  25. Add 1 tsp liquid honey and mix it well.
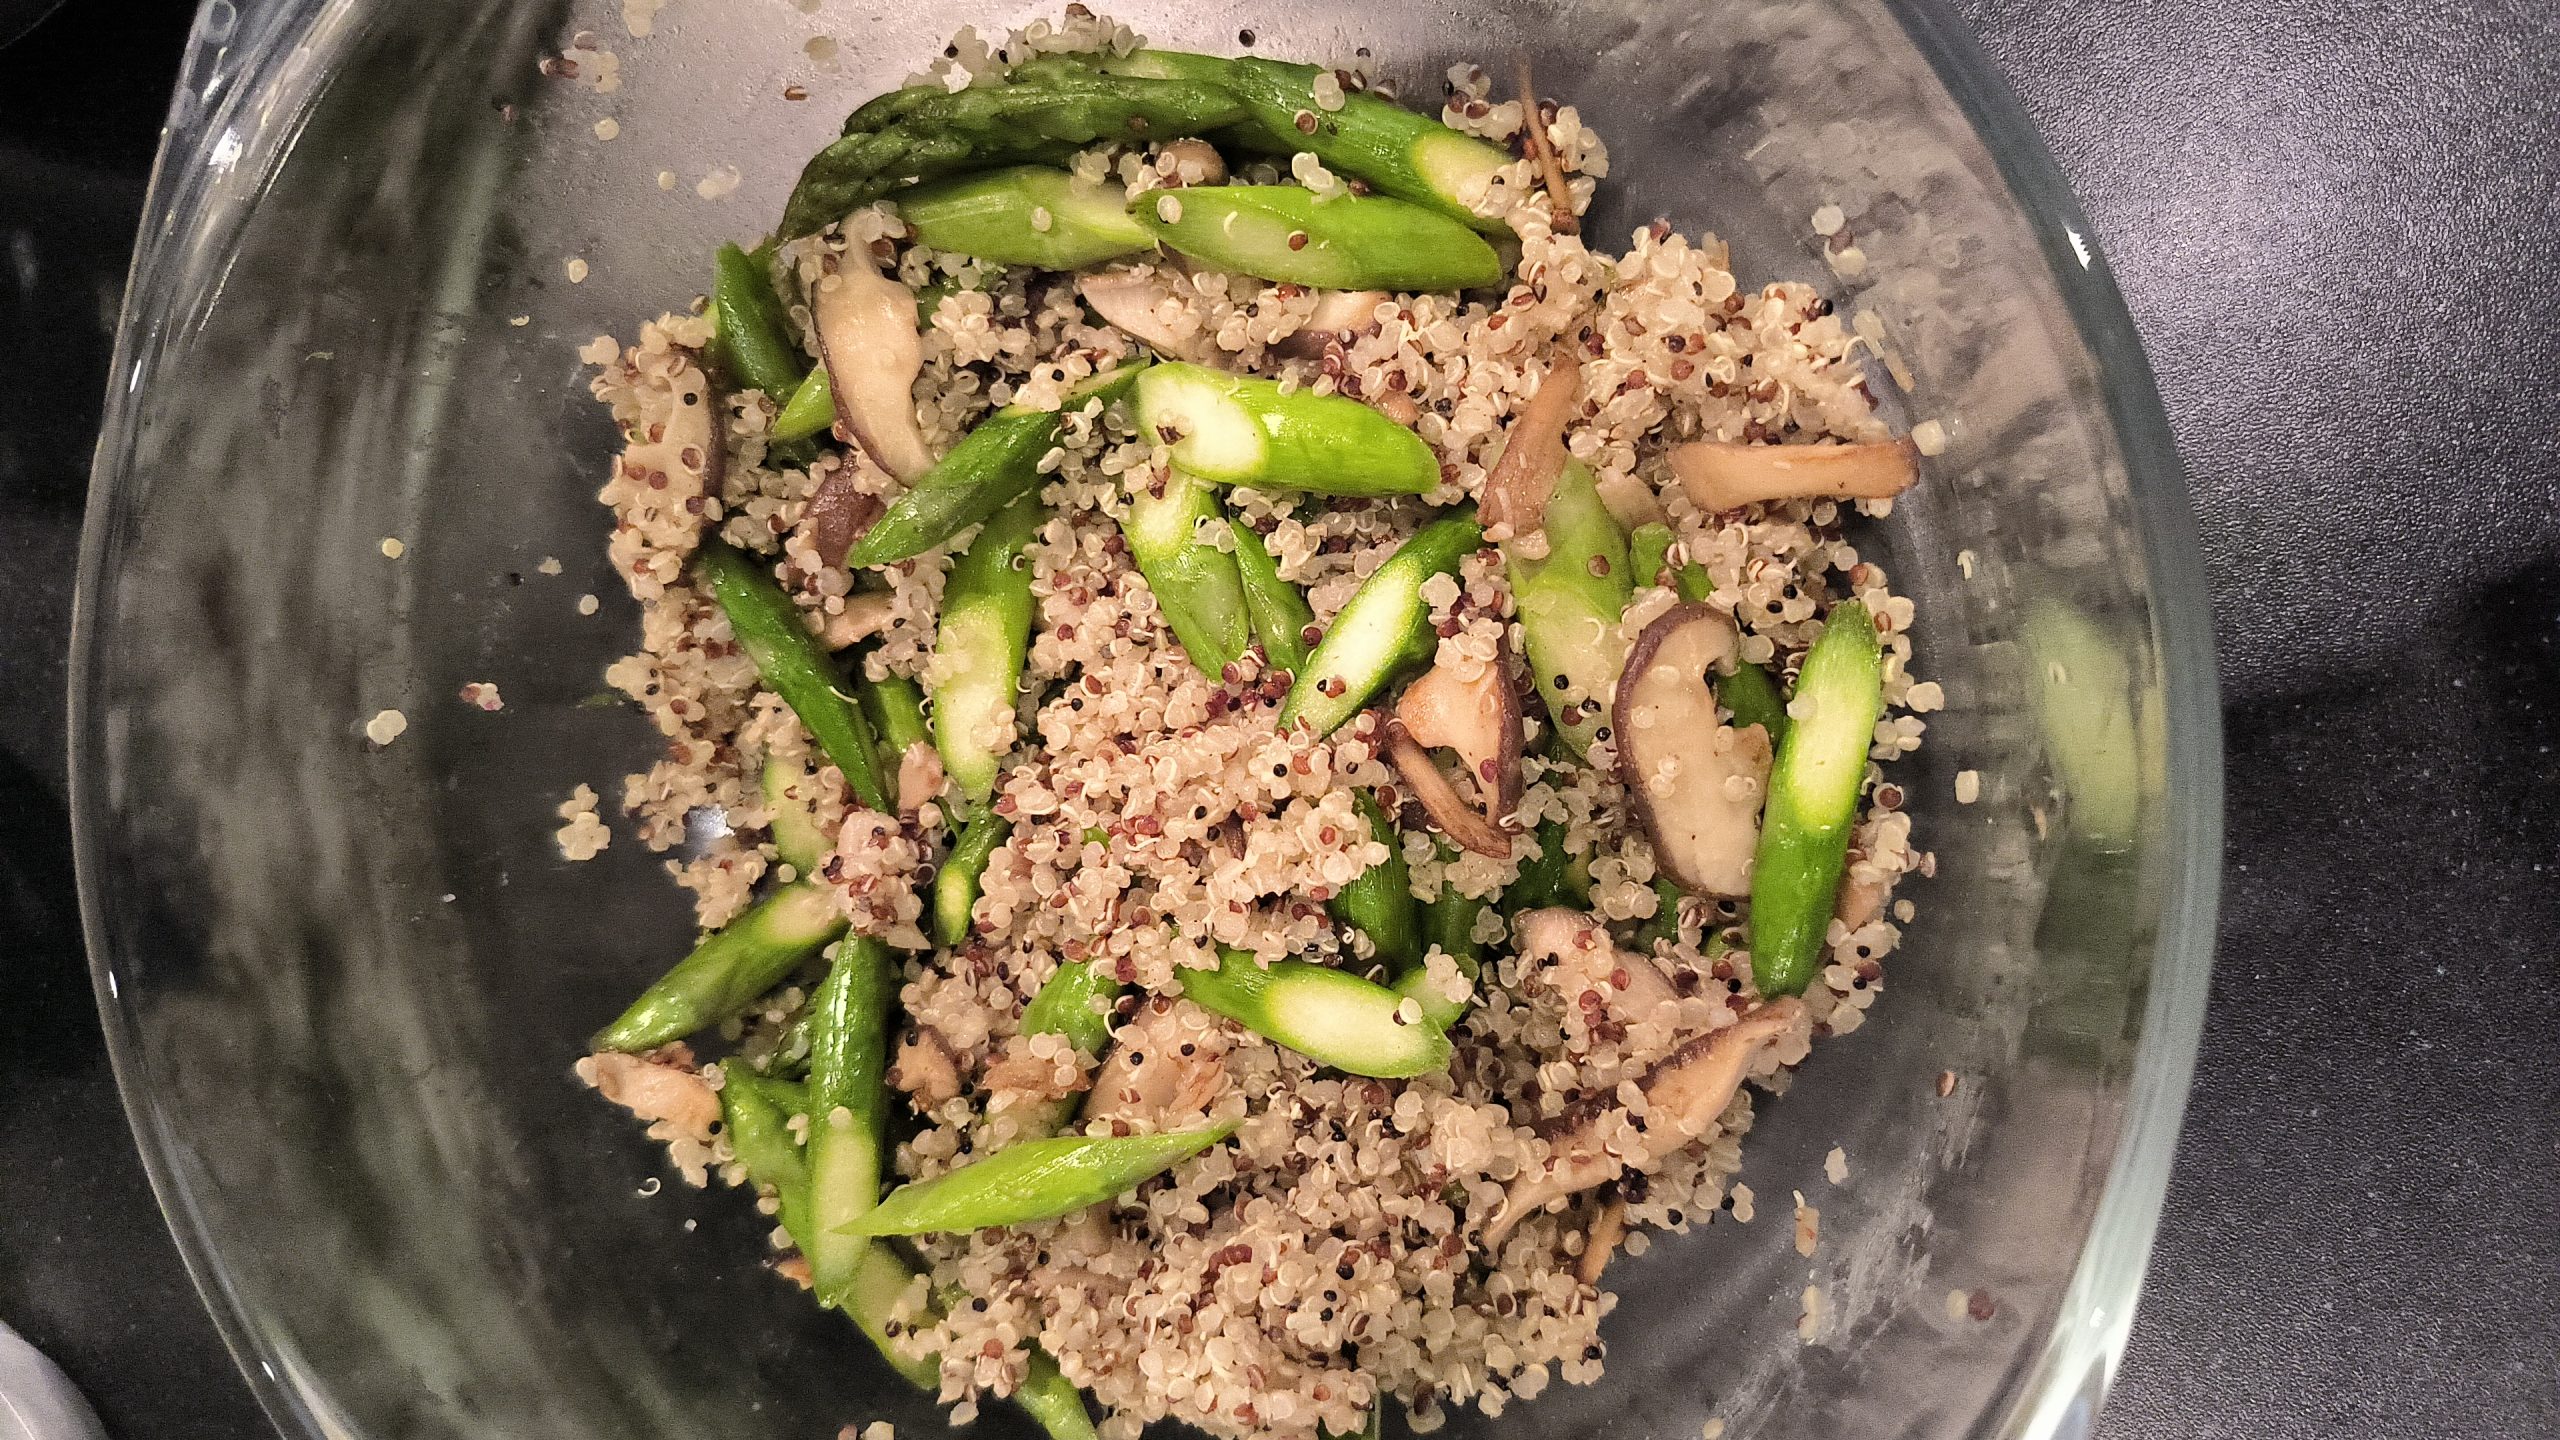
  26. ————- Mix the Salad ————-        
  27. Cut 4 cherry tomatoes in quarters and add into the quinoa bowl.
  28. Unseed 8cm cucumber and cut in bite sizes and add in the bowl.
  29. Add the dressing in the bowl but not everything. This is to keep a last splash for the salmon.
  30. Mix all ingredients in the bowl.
  31. Add the salmon on top and splash the remaining dressing sauce over the salmon.
  32. Optional: garnish on top with garden cress or roasted sesame seeds.

I would like to hear your feedback once you tried this salad 😊 Bon appetite!

Share this:

Simple Grated Zucchini Spicy Mint Pasta

Simple grated zucchini spicy mint pasta within 30 minutes. It’s a quick & easy recipe with refreshing mint and spicy flavours. This recipe goes perfect with spaghetti, linguine, fettucine or fusilli. In general, any kind of pasta goes well but these are my favourites to cook in a ‘semi-dry sauce’.

My first time eating this zucchini pasta was at my friend’s home and I loved it! Her friend from Greece was on visit and cooked for us a quick meal as it was quite late for dinner 😊. She learnt cooking this simple pasta from a family in Sardinia while she explored the island. A typical home-made pasta that feeds people’s soul with happiness.     

For the refreshing taste, I use Greek dried spearmint (dyosmos). I got this from my friend after having this superlicous pasta experience, supplied directly from the farmers and no chemicals. The flavours are close to fresh peppermint but it packs a more potent punch with spicy notes and is milder than peppermint.

In addition, I will use shallots, oyster mushroom and lemon juice in my recipe for the extra texture and flavours. In the original home-made ‘Sardinian’ recipe, it contains only garlic, chili, zucchini and parmigiano topping. You can omit all additional ingredients and keep to the original flavours. The cooking method and steps are the same.

You can also make this pasta vegan and gluten-free, it all depends on what ingredients you like to cook with.

Cooking time for one regular portion: less than 30 minutes

Ingredients & Tools

  • Pasta for 1 person
  • ½ grated zucchini aka courgette
  • 1 chopped garlic toe
  • A little bit of thin sliced spicy chili. If your chili is hot spicy, use much less as you like to have a nice balance between mint & spicy flavours.
  • 1 overfull tsp cut dried mint leaves or extra to taste
  • Salt
  • 1,5 Tbsp extra virgin olive oil
  • Topping: fine grated parmigiano cheese
  • Pan for pasta
  • Colander
  • 1 big bowl
  • Vegetable grater (ultra coarse grater)
  • 1 big mug

Additional ingredients for the extra texture and flavours

  • ½ chopped shallot
  • ¼ fresh lemon juice
  • 50gr or 2 handful shredded oyster mushroom

What to do?

  1. ————- Boil the pasta ————-
  2. Pre-boil water in the water boiler for 70-80°C. If you don’t have a temperature regulating boiler, no problem. Just boil the water.
  3. Spread the pasta in the pan and pour in the boiling water.
  4. Put a little bit salt in the pan and cook for 10min. It’s better to check your pasta package on how long it needs to be boiled. Cooking time may differ for different brands.
  5. Very important – do not pour oil in the pasta and stir the pasta from time to time.
  6. ————- Prepare ingredients ————-
  7. While boiling the pasta, rinse the zucchini and cut in half for 1 person. No need to peel the skin.
  8. Grate the zucchini in a big bowl.
  9. Chop 1 garlic toe.
  10. Chop ½ shallot.
  11. Shred 50gr (2 handful) oyster mushroom or tear along the stem.
  12. Cut ¼ of a lemon.
  13. ————- Start cooking ————-
  14. Once the pasta is boiled for 10min, fill 1 mug full of pasta water and keep aside for later.
  15. Drain the pasta in a colander and let it be.
  16. Re-use the pan and heat the pan with 1,5 Tbsp olive oil.
  17. Sizzle the garlic and add the shallots. Make sure that the garlic does not burn, avoid brown-ish colouring.
  18. Add the zucchini in the pan and sprinkle some salt.
  19. Stir ingredients until the zucchini gets a bit soft and add the oyster mushroom and chili.
  20. Stir ingredients and simmer light for a few minutes. Add extra salt to taste.
  21. Once all is soft and most liquid is evaporated. Turn the heat low.
  22. Above the sink, swirl ½ cup pasta water in the colander to make the pasta loose as it might stick a bit.
  23. Toss the pasta in the pan, add 1 overfull tsp dried mint or extra to taste and stir all ingredients for another 1 min.
  24. If you find the pasta ‘sauce’ too dry, you can pour in a little bit of the remaining pasta cooking water in the pan to make it moisty.
  25. Squeeze ¼ lemon juice into the pasta and stir quick & short. Switch off the heat.
  26. Serve the pasta on the plate and sprinkle grated parmigiano cheese on top.

I hope you enjoy this simple meal 😊 Bon appetite.

Share this: